As an Amazon Associate, we earn from qualifying purchases. Some links on this site are affiliate links at no extra cost to you. Our recommendations are based on thorough research and editorial judgment.

How to Convert Oven Temperature to Air Fryer Settings
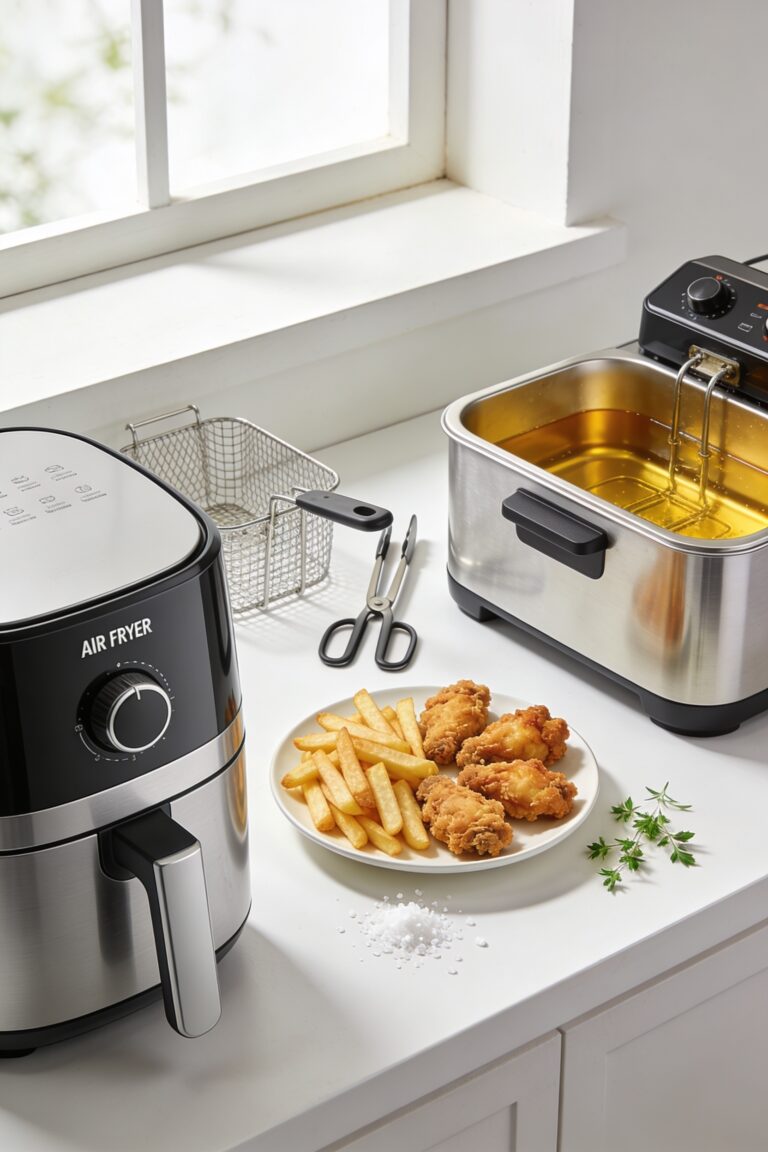
subtract 25°F from your conventional oven temperature, then reduce cooking time by about 20–25%. So that 375°F, 30-minute chicken recipe? Try 350°F for roughly 24 minutes instead. Air fryers circulate heat way more efficiently than ovens, so everything cooks faster and hotter in that smaller space. Check your food halfway through to avoid overcooking—trust me, it’s harder to fix than undercooking. Stick with an internal thermometer for proteins, and you’ll nail it every time.
Key Takeaways
- Subtract 25°F from conventional oven temperature when converting recipes for air fryer use.
- Keep the original temperature for frozen foods and reduce cooking time to approximately half.
- Reduce cooking time by 20–25% for fresh foods compared to conventional oven recipes.
- Use a meat thermometer to verify doneness; chicken requires 165°F internal temperature.
- Check food halfway through cooking and add five-minute increments if additional time is needed.
Convert Temperature: Drop 25°F for Air Fryer
When you’re converting your favorite oven recipes to the air fryer, here’s the thing—you don’t need to reinvent the wheel. Just subtract 25°F from whatever temperature your recipe calls for. That’s it. The reason? Air fryers have intense fan speed that circulates heat way more efficiently than conventional ovens. Your basket material also matters—metal baskets conduct heat faster than ceramic, so you’re working with concentrated, moving heat.
Now, this standard reduction works beautifully at moderate temperatures. You’re not dealing with some weird science here. A 375°F oven recipe? Try 350°F in your air fryer. The smaller cooking space combined with that aggressive fan speed means your food cooks faster and hotter than expected. Stick to this rule, check your food halfway through, and you’ll nail it.
How to Convert Frozen vs. Fresh Foods Differently
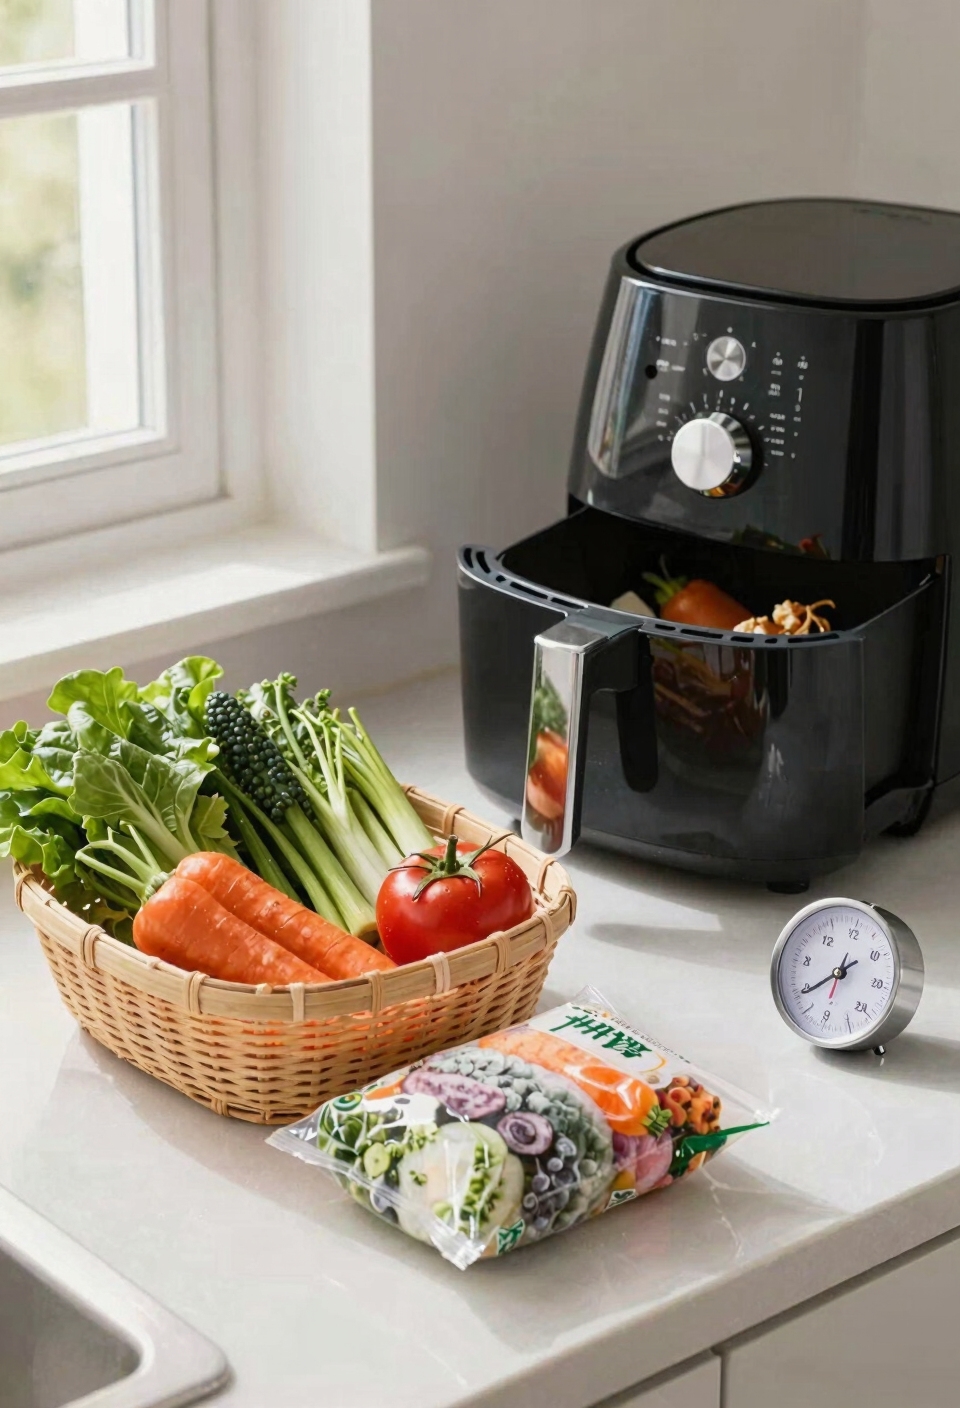
Now here’s where things get interesting—that 25°F rule I just gave you? It doesn’t apply to frozen foods. Here’s the thing: frozen items need a completely different strategy.
For frozen foods, I keep the temperature exactly the same as your conventional oven recipe calls for. But I slash the cooking time in half. That’s it. A 180°C recipe for 20 minutes? I’m cooking it at 180°C for just 10 minutes.
Why? The air fryer’s intense circulation accelerates thawing methods while simultaneously cooking. You’re not waiting for the food to thaw first—it’s happening all at once, which actually improves texture retention by preventing that soggy middle problem you’d get with traditional ovens.
Fresh foods want temperature drops. Frozen foods want speed. Remember that distinction, and you’ll nail both conversions.
Apply the Method: Temperature + Time Conversion Example
Let me walk you through a real conversion so you can see how this actually works in practice. Say you’ve got a chicken recipe calling for 375°F for 30 minutes in your regular oven. I’d drop that temperature to 350°F—that’s your standard 25°F reduction. Then I’d cut the cooking time by about 20%, landing around 24 minutes instead of 30.
Now, here’s where precision calculators come in handy if you’re doing recipe scaling or cooking larger portions. They’ll catch nuances your basic math might miss. The key? Check your chicken halfway through. That meat thermometer becomes your best friend—you’re looking for 165°F internally.
You’ll notice it finishes faster and browns differently than your oven ever did. That’s the air circulation doing its thing.
Reduce Air Fryer Cooking Time by 20–25

Since air fryers cook with intense, circulating heat in a confined space, you’ve got to trim your cooking time down from what the recipe calls for. I’m talking about reducing that time by 20–25 percent, which sounds dramatic until you realize how efficient these machines actually are.
Here’s what I do: I take the original cooking time and subtract roughly a quarter of it. So if your recipe says 30 minutes, I’m starting with 22 or 23 minutes instead. When you’re batch cooking multiple rounds, this adjustment becomes your baseline for consistent results across batches.
Now, power settings adjustments matter too. Lower wattage air fryers might need slightly longer cooking times, so check your manual. Start checking doneness early anyway—better safe than charred.
Check Doneness by Food Type (and Troubleshoot Mistakes)

Getting the timing right is half the battle, but knowing *when* your food’s actually done—that’s the other half, and it’s where things get interesting. I always use internal temps with a digital meat thermometer for proteins. Chicken needs 165°F, beef depends on your preference, and fish flakes easily when ready. For vegetables, texture tests work perfectly—they should be tender but not mushy. Pastries and baked goods benefit from the toothpick trick; it should come out clean. Now, if something’s undercooked, just toss it back in for five minutes. Overcooked? That’s tougher to fix, so check early and often. Different air fryer models cook slightly differently, so you’ll develop a feel over time.
Frequently Asked Questions
Do I Need to Preheat My Air Fryer Before Cooking, Similar to Conventional Ovens?
Yes, I’d recommend preheating your air fryer, especially for baking. The preheat benefits include ensuring even cooking and better results. Air fryers’ rapid heat up means you’ll only need a few minutes beforehand.
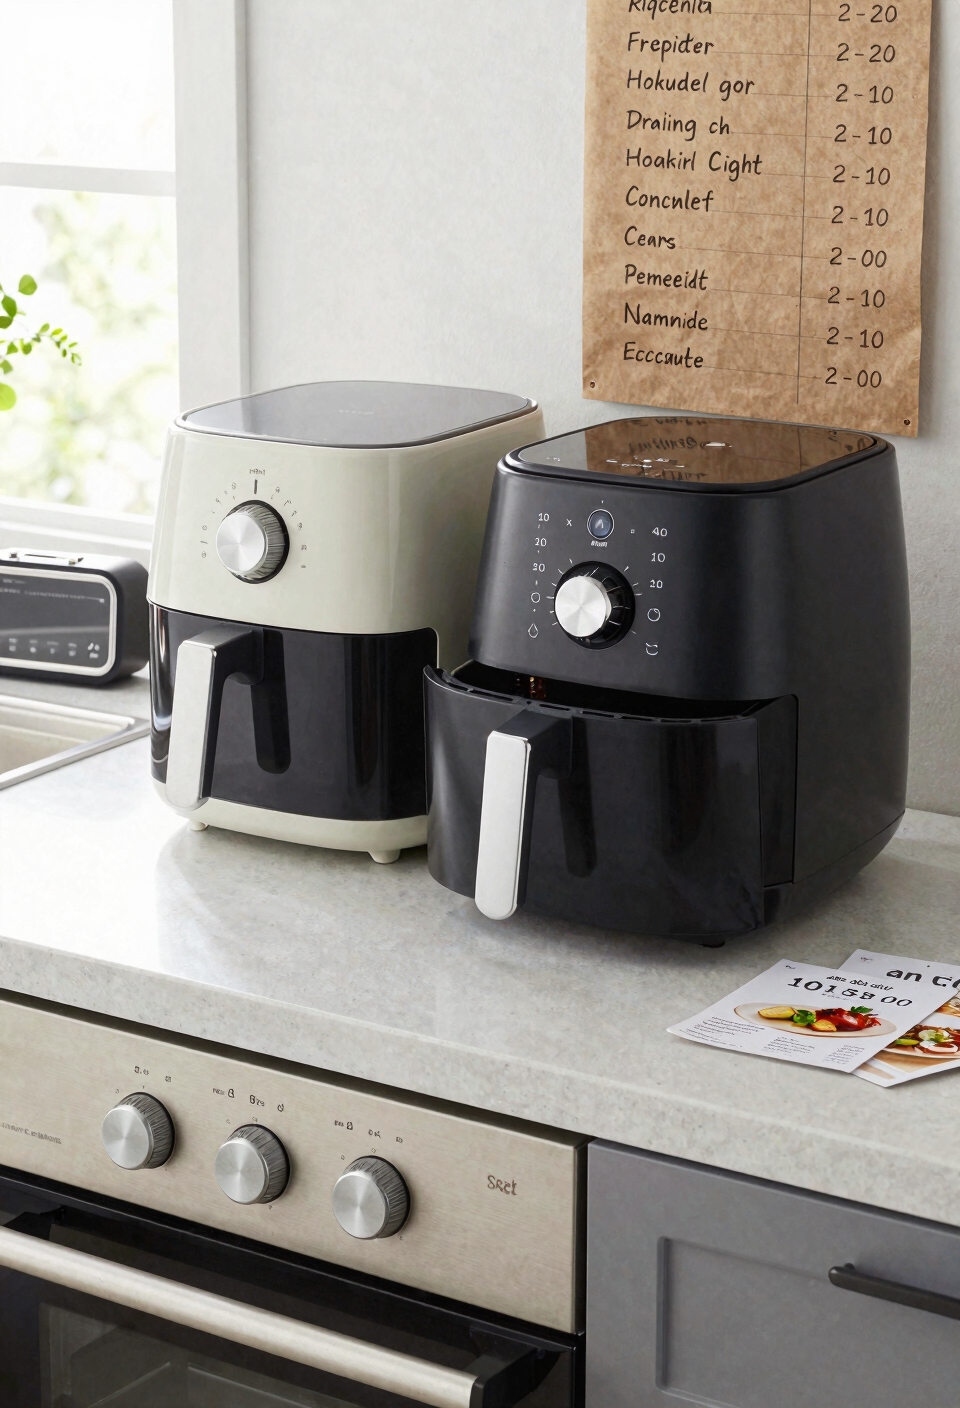
How Do Brand-To-Brand Air Fryer Variations Affect Temperature and Cooking Time Conversions?
Brand variability materially impacts your conversions—here’s why. Wattage differences between models mean you’ll need your specific air fryer’s manual for precise adjustments. I’d recommend checking yours before trusting generic guidelines.
Should I Apply Oil or Butter to Food in an Air Fryer to Prevent Sticking?
Yes, I’d recommend you apply oil or butter to prevent sticking. I suggest you use spray for even coating or brush sparingly on your food’s surface before air frying for best results.
What’s the Best Way to Arrange Food in an Air Fryer Basket for Even Cooking?
I’ve learned that arranging food in a single layer with staggered spacing within your air fryer basket prevents overcrowding. This maximizes air circulation, ensuring even cooking—much like orchestrating a perfectly balanced meal where every ingredient receives equal attention and heat distribution.
Can I Use a Wire Rack in My Air Fryer to Recreate Conventional Oven Circulation?
Yes, I’d recommend placing a wire rack on your baking dish to elevate food and improve airflow dynamics. This elevated placement mimics convection circulation similar to dedicated air fryer baskets, enhancing heat distribution throughout your cooking.
Conclusion
Look, I’ve given you the formula—drop that temperature, trim the time, and check your food. You’ll nail it eventually. Sure, I’ve burned things (more than I’d like to admit), but so does everyone starting out. The coincidence of nailing the timing and temperature simultaneously? That’s when air frying clicks. You’ve got this.