As an Amazon Associate, we earn from qualifying purchases. Some links on this site are affiliate links at no extra cost to you. Our recommendations are based on thorough research and editorial judgment.
Air Fryer Tips for Beginners: What You Need to Know First
Look, here’s the thing: most air fryer disasters happen before you even cook. Start by washing your basket and running an empty burn-off at 400°F to clear that factory smell. Then drop your oven temp by 25°F, cut cooking time roughly in half, and pat your food dry—moisture is the enemy of crispy. Arrange everything in a single layer, flip halfway through, and you’re basically done. Stick around for the specific moves that’ll transform your results.
Key Takeaways
- Wash and burn off your new air fryer at 400°F for 5–10 minutes to eliminate factory residue and odors.
- Reduce oven temperatures by 25°F and cooking time by roughly half when converting traditional recipes to air fryer.
- Pat foods dry and apply light oil coating before cooking to achieve maximum crispiness and browning.
- Arrange food in single layers and flip halfway through cooking to ensure even results and proper airflow.
- Avoid soggy results by preventing overcrowding; leave breathing room between food pieces for optimal air circulation.
Set Up Your Air Fryer for First Use
Before you cook your first batch of fries, I’d strongly recommend taking thirty minutes to prep your air fryer the right way—trust me, it’ll save you headaches later. Start by washing the basket and interior with warm soapy water to remove factory residue that accumulates during manufacturing. Then run the unit empty at 400°F for about five to ten minutes. This burn-off process tackles that annoying plastic smell removal, which can linger otherwise. After it cools, wipe everything down. If the smell persists, repeat the process. It might seem fussy, but you’ll appreciate breathing in fresh-cooked food instead of melting plastic fumes. Your future self will thank you.
Convert Oven Temps to Air Fryer Settings
Once you’ve got your air fryer all cleaned up and ready to roll, here’s the good news: converting your favorite oven recipes is dead simple. You’ll want to handle both temperature conversion and timing adjustments together—they’re a package deal.
Here’s the thing: drop your oven temperature by 25°F. So if a recipe calls for 400°F, you’re running your air fryer at 375°F instead. Now for timing adjustments, cut the cooking time roughly in half. Air fryers cook about 20-30% faster than conventional ovens because of how they circulate heat.
Start with these times as your baseline, then adjust based on what you’re cooking. You’ll nail it after a few tries, I promise.
Prepare Your Food for Maximum Crispiness

Now that you’ve got your temperatures and times sorted, let’s talk about the real secret to crispy, golden results: how you prep your food matters just as much as the machine itself.
Here’s the thing—moisture is your enemy. I pat everything dry with paper towels before it hits the basket. Seriously, don’t skip this step.
A light coating of oil is your friend. I use a quick cooking spray, nothing crazy. The dry brine technique works wonders too; salt your protein the night before for better seasoning penetration.
Temperature resting matters more than you’d think. Let your food sit at room temperature for fifteen minutes before cooking. This promotes even cooking throughout.
Finally, arrange everything in a single layer. Crowding kills crispiness every time.
Arrange Food and Set Your Cook Time
With your food prepped and your air fryer heated up, it’s time to actually load the basket—and this is where a lot of people mess up. Here’s the thing: you’ve got to arrange everything in a single layer. I know it’s tempting to stack stuff up and cram it in, but your air fryer needs space to work its magic. Overcrowding blocks airflow, and you’ll end up with soggy disappointment instead of crispy perfection.
Now for precise timing. Check your manual or start with the guidelines I mentioned earlier. Set your timer, but here’s my pro tip: shake or flip your food halfway through. That little interruption transforms your results. If your model lacks auto-shake reminders, set two alarms instead of one. It sounds annoying, but trust me—it works.
Flip and Shake Halfway Through for Even Results
The halfway point is where you earn your crispy stripes. I’m talking about that mid-cook rest when you crack open the basket and flip or shake everything around. This isn’t optional—it’s the difference between golden perfection and sad, uneven results.
Now, here’s why it matters: hot air needs access to all surfaces. When you shake or flip halfway through, you’re giving the other side its turn under the heat. No cold spots. No disappointment.
All right, here’s a bonus move. Use that mid-cook rest as your seasoning revamp opportunity. Taste test something if you can, adjust salt or spices if needed. Set a timer in segments so you actually remember to do this. Trust me, your dinner self will thank you.
Troubleshoot Common Cooking Problems
Even after you’ve nailed the basics, your air fryer will throw you curveballs—soggy bottoms, burnt edges, food that cooks unevenly despite your best halfway-point efforts. Here’s the thing: most problems stem from overcrowding or improper spacing. If you’re experiencing soggy centers, your basket’s probably packed too tight. Leave breathing room between pieces so hot air circulates freely.
Uneven browning usually means you’re skipping that vital shake at the midway point. I’ve made this mistake more times than I’d like admitting. Flip those fries, rotate those chicken wings—it genuinely matters.
Now, if food’s burning on edges while centers stay undercooked, lower your temperature by 25°F and add five minutes. Your air fryer’s probably running hotter than you think. Adjust and try again.
Clean and Maintain Your Air Fryer Basket
Keeping your air fryer basket clean isn’t just about hygiene—it’s about keeping your machine running like it actually enjoys its job. I wash mine after every use with warm soapy water, which takes maybe two minutes and prevents stubborn buildup. Now, here’s the thing: using air fryer-safe parchment liners saves you serious cleanup time and prevents food from sticking like it’s got a personal vendetta.
For odor elimination, wipe down the basket thoroughly and let it air dry completely. Before seasonal storage, I run a final cleaning cycle to make sure nothing’s lurking inside. Silicone mats work great too—they maintain their shape and keep everything from sticking. Your basket’ll thank you with consistent performance and a longer lifespan.
Choose an Air Fryer That Fits Your Kitchen
Once your basket’s sparkling clean, you’re ready to think about the machine itself—or maybe you’re starting from scratch and wondering which air fryer won’t turn your kitchen into a cramped appliance graveyard. I’d start by measuring your countertop footprint honestly. You need space that doesn’t disappear when you actually want to cook. Look for compact designs that still pack enough capacity for your family’s needs. Next, consider noise level—some models sound like angry robots, which matters if your kitchen adjoins your living room. Choose ceramic non-stick baskets for easy cleaning and PFAS-free cooking. Simple controls beat fancy buttons you’ll never touch. Find one with preset functions to cut setup time, and you’re golden.
Frequently Asked Questions
Can I Use My Air Fryer Without Preheating, or Is It Necessary?
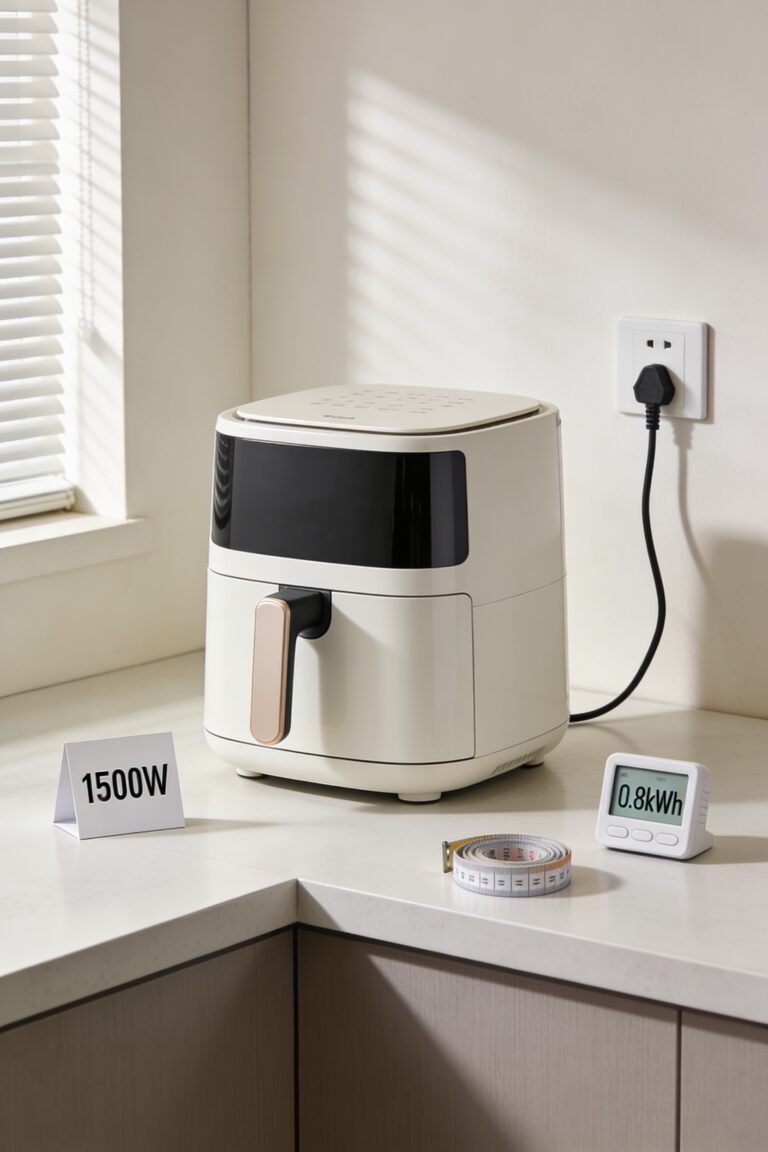
I’d say you can skip preheating to save energy, though you’ll notice texture differences. You’ll need time adjustments—add 3-5 minutes to cooking. Your food won’t crisp as evenly without it.
What Foods Should I Avoid Cooking in an Air Fryer Altogether?
Like Icarus flying too close to the sun, I’d avoid runny batters—they’ll splatter everywhere. Skip delicate greens; they’ll burn instantly. Also steer clear of wet foods, cheese, and anything requiring moisture to cook properly in your air fryer.
How Do I Know When My Air Fryer Has Finished Its Initial Burn-Off?
You’ll know your initial burn-off is complete when the plastic smell dissipates and the air fryer cools down. If odor persists, I’d recommend repeating the process until it’s gone entirely.
Is It Safe to Use Metal Utensils or Accessories in My Air Fryer Basket?
I know you’re worried about damaging your basket, but I’ve found that stainless accessories work fine. However, I’d avoid metal utensils—they’ll scratch your non-stick ceramic coating and compromise its durability.
Can I Cook Multiple Different Foods Simultaneously in One Air Fryer Session?
Yes, I’d cook multiple foods together, but I’d watch for different textures and flavor transfer. I’d keep strong-flavored items separate, arrange them in a single layer, and shake everything halfway through for even cooking.
Conclusion
Look, I won’t sugarcoat it—your air fryer won’t fix everything, but it’ll fix a lot. You’ve got the setup down, the timing figured out, and now you’re armed with real troubleshooting skills. That’s half the battle right there. The other half? Actually using the dang thing. Start simple, trust the process, and before long you’ll wonder how you ever lived without crispy perfection at your fingertips.