As an Amazon Associate, we earn from qualifying purchases. Some links on this site are affiliate links at no extra cost to you. Our recommendations are based on thorough research and editorial judgment.

How to Cook Frozen Fries in an Air Fryer (Crispy Every Time)
Look, I’ve nailed crispy frozen fries every time by doing three things: hit the right temperature for your fry type (360–390°F depending on style), arrange them in a single layer with breathing room, and shake the basket halfway through. The secret? Don’t rely on the timer alone—check color visually toward the end instead. Pat fries dry first, avoid overcrowding, and you’ll get that shattering crispiness you’re after, not soggy disappointment. Stick around for the seasoning tricks that’ll make them even better.
Key Takeaways
- Preheat your air fryer and use 360–390°F depending on fry type for optimal crispiness and consistent results.
- Arrange frozen fries in a single layer with adequate spacing to ensure even airflow and prevent sogginess.
- Shake the basket halfway through cooking and at 10–15 minute intervals to rotate fries for uniform browning.
- Check fries visually for deep golden color near the end rather than relying solely on the timer.
- Increase cook time to 12–15 minutes at 400°F in two-minute increments for extra crispy texture without charring.
Choose the Right Temperature for Your Fry Type
not all frozen fries are created equal, and neither are the temperatures that’ll make them crispy. Waffle fries? They want 360°F for 8-11 minutes. Steak fries demand 375°F, though 400°F works too if you’re patient for 10-15 minutes. McDonald’s-style fries prefer 390°F for a solid 20 minutes.
The secret lies in understanding airflow dynamics. Your air fryer’s heat circulation needs room to work its magic, so temperature and basket arrangement matter equally. Before cooking, preheat your machine—this guarantees consistent appliance calibration and gives you reliable results. I know preheating feels like extra work, but it genuinely makes a difference. Different fry thicknesses also affect timing, so start checking early. You’ll nail crispy fries once you match temperature to your specific fry type.
Prep Your Basket and Arrange Fries for Even Cooking
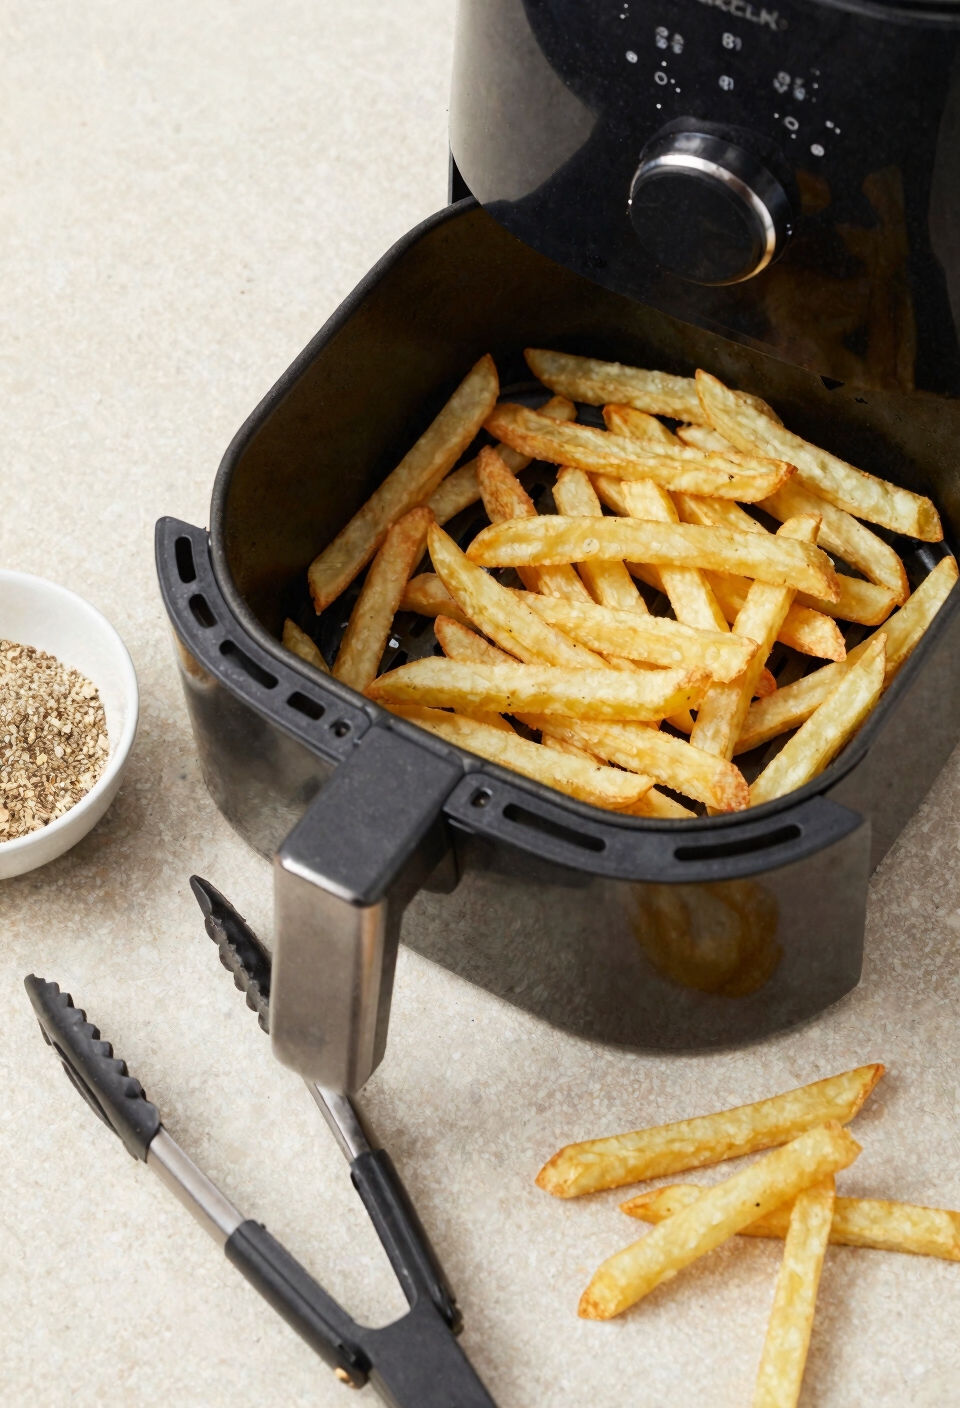
Now that you’ve dialed in your temperature, the real work begins—and I mean that in the best way possible. Here’s the thing: arrangement matters more than you’d think. Coat your basket with nonstick spray first—trust me, you’ll appreciate this step. Arrange your frozen fries in a single layer, giving each piece some breathing room. I can’t stress the space between pieces enough. Overcrowding your basket suffocates air circulation, and that’s how you end up with soggy disappointment instead of golden crispiness.
Think of it like a fry dance floor. They need room to move around. Don’t pack them in like sardines. A single, even layer means every fry gets equal access to that hot air swirling around your basket. That’s your secret to consistent, uniform crispiness across every batch.
Recommended Products

ELECTRIC GRIDDLE: This hardworking griddle features a 1500 watt heating system, cool touch handles & a base with a built in ledge with backstop for easy pancake flipping. The removable probe with easy-to-use dial allows for precise temperature control

EXTRA HOT AIR FRY TECHNOLOGY – 7 QT air fryer delivers crispy results with up to 70% less fat. Preheat, place Fry Tray correctly, and use on a flat, level surface for optimal performance.

HEALTHY FRYING: Achieve perfect fried results with little or even no oil! Temperature range from 200°F - 400°F allows you to cook at your desired temperature, achieving a healthy, crispy, fried finish using at least 98% less oil than traditional fryers.
Shake and Monitor Fries Throughout Cooking
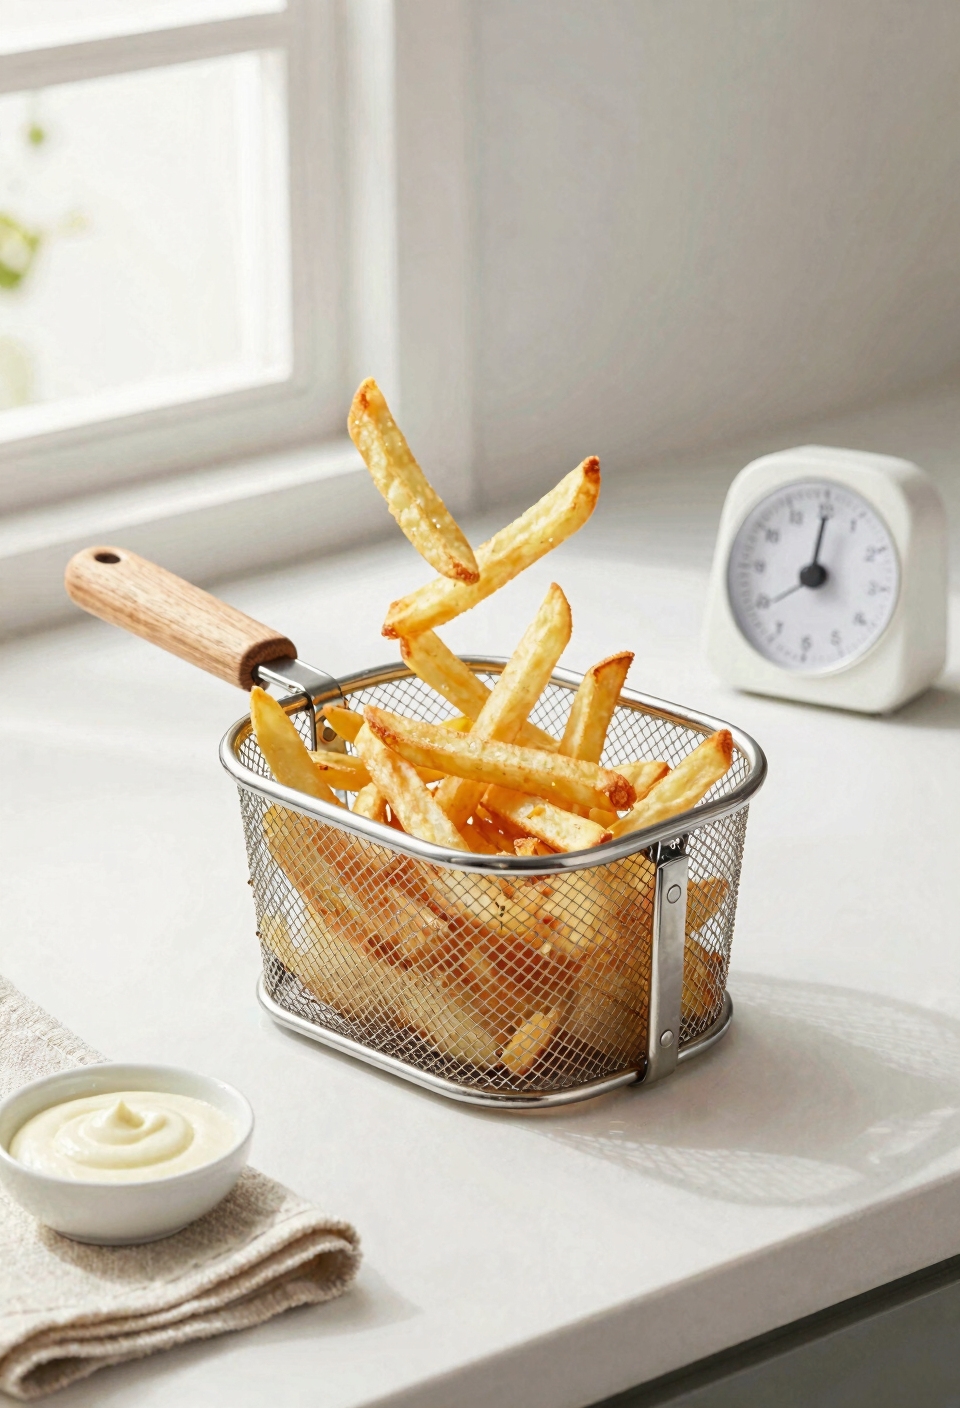
Once your fries hit that hot air, they’re not just passively cooking—they’re actually begging for your attention. I shake my basket halfway through, and honestly, that single move makes all the difference between soggy disappointment and crispy gold. Here’s the thing: I actually shake multiple times throughout cooking, around the 10 and 15-minute marks, rotating those bottom fries to the top. These timing cues keep everything cooking evenly. Toward the end, I check every few minutes for texture checks—watching for that perfect golden color without burnt edges. Every air fryer runs slightly different, so visual monitoring beats the clock every time. Trust what you see, not just what the timer says.
Recommended Products

PRO COOK SYSTEM: Achieve the perfect doneness from rare to well done at the touch of a button with the integrated Pro Cook System with Auto Temp Detect Intelligence Thermometer—no guesswork required.

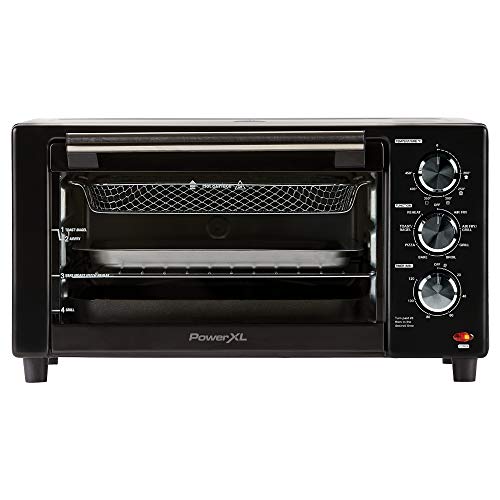
10-IN-1 FUNCTIONALITY: Includes 10 versatile cooking programs: Air Fry, Air Roast, Broil, Bake, Whole Roast, Pizza. Toast, Bagel, Reheat, Dehydrate.

【Dual Basket Air Fryer Space-Saving Design】Two independent baskets support simultaneous cooking with no flavor transfer. Stacked compact design maximizes capacity and space efficiency, saving up to 45% of counter space vs. traditional air fryers.
Extend Cooking Time for Extra Crispy Results

If you’re the type who sees a golden fry and thinks “I could go crispier,” then you’re speaking my language. Here’s the thing: extending your cook time is the secret weapon for that extra-crispy texture you’re craving.
I’d push things to 12-15 minutes at 400°F, working in longer increments of two minutes so you nail the perfect crispiness without charring. Low moisture is your friend here—that’s what makes fries shatter instead of bend.
Now, don’t just set it and forget it. Check your fries every few minutes toward the end. Every air fryer runs a little differently, so visual monitoring beats timer obsession. You’re looking for that deep golden color that says “crispy perfection.”
Recommended Products

【Precision Cooking&Large Capacity】The microwave oven has 1.6 Cu.Ft capacity and 10 different microwave power levels for precise temperature and time timing settings. You can adjust the cooking power from 10% to 100% to easily select the different levels needed to cook different foods for fast, efficient and perfect cooking, ideal for the kitchen. The built-in Halogen lamp light allows you to see exactly how your food or drinks are heating up through the insulated door glass. Product Size:23.82inx22.26inx19.49in(WxDxH)--Outward-Downward Opening,Reserve Sufficient Space.

Versatile 3-in-1 appliance combines an air fryer, convection oven and 1200W microwave with smart presets and shortcuts for easy cooking.
Fix Soggy, Unevenly Cooked, or Burnt Fries

Even with the best intentions, sometimes your fries come out wrong—soggy, unevenly cooked, or charred at the edges. Here’s the thing: uneven batching is usually the culprit. Don’t overcrowd your basket. I learned this the hard way. Frozen fries need space to breathe, or you’ll get steamed mush instead of crispy gold.
For moisture removal, pat your fries dry before cooking if they’re particularly frosty. That extra water turns to steam and ruins everything. Now, if you’re getting burnt edges while centers stay soft, lower your temperature by 25 degrees and add five minutes instead. Multiple shakes throughout cooking—I’m talking three or four times—prevents those burnt spots and guarantees even browning. Trust me, consistency beats speed every time.
Recommended Products
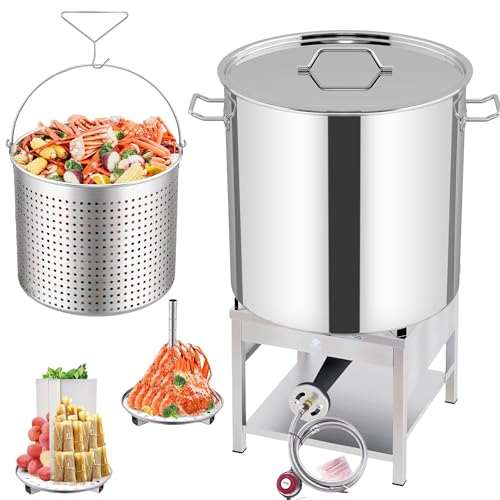
Premium stainless steel construction for long-term durability. 200,000 BTU output burner for versatile outdoor cooking needs. Ideal for seafood boil pot and turkey fryer burner.


Premium stainless steel construction for long-term durability. 200,000 BTU output burner for versatile outdoor cooking needs. Ideal for seafood boil pot and turkey fryer burner.
Customize Seasoning and Oil Application
The double-spray technique works magic—spray, shake, then spray again. This guarantees even coating without overdoing it. After cooking, hit them with flavored salts like truffle, smoked, or garlic salt instead of standard table salt. You control the sodium level and taste profile completely. Want cajun kick? Toss in some paprika and cayenne. Parmesan lover? Dust them right out of the basket. That’s how you transform frozen into genuinely yours.
Frequently Asked Questions
Can I Cook Multiple Batches of Fries Without Waiting Between Them?
I’d recommend against batch stacking in your air fryer, as it compromises air circulation and crispiness. Instead, I suggest sequential cooking—your first batch stays warm at 250°F while temperature cycling restarts for batch two.
Do Frozen Fries Need to Be Thawed Before Air Frying?
No, I don’t thaw them. I cook frozen fries directly from the freezer for peak texture tips and moisture control. They’re pre-cooked and pre-oiled, so thawing actually compromises crispiness and introduces excess moisture that prevents that perfect golden finish.
How Do I Keep the First Batch Warm While Cooking Subsequent Batches?
I’ll keep your first batch warm in a 250°F oven—think of it as a holding pattern for perfection. You can also use an insulated carrier or the oven drawer to maintain that ideal temperature while you’re cooking the next batch.
What’s the Difference Between Cooking Mcdonald’s-Style Versus Steak Fries?
McDonald’s-style fries are thin and cook faster at 10-12 minutes, while steak fries are thick and need longer cooking times. Both come seasoned, but I’d adjust temperatures based on their thickness for peak crispiness.
Can I Use Fresh Fries in an Air Fryer Instead of Frozen?
Yes, you can air fry fresh fries like golden homemade cutlets. I’d recommend parboiling potatoes first, then seasoning and cooking at 375°F for 15-20 minutes, shaking halfway through for even crispiness.
Conclusion
All right, you’ve got the golden guidelines down. Perfect your temperatures, position those potatoes properly, and shake ’em sensibly throughout. Season and sizzle to your satisfaction. With these fundamentals firmly fixed, you’ll fry frozen fries flawlessly every single time. Your air fryer’s about to become your new best friend—crispy, consistent, and always ready to deliver.