As an Amazon Associate, we earn from qualifying purchases. Some links on this site are affiliate links at no extra cost to you. Our recommendations are based on thorough research and editorial judgment.
How to Cook Chicken Wings in an Air Fryer: Crispy Guide
All right, here’s the thing: crispy air fryer wings come down to three moves. Pat them dry, toss with oil and baking powder, then hit them at 250°F for fifteen minutes to render the fat. Crank it to 400°F for another fifteen to twenty, flipping halfway through. You’ll know they’re done when the meat pulls free at the joint and hits 165°F inside. Stick around for the tricks that’ll take yours from good to genuinely show-stopping.
Key Takeaways
- Pat wings dry, separate into drumettes and flats, and arrange with adequate spacing for optimal airflow in the basket.
- Coat wings with oil, baking powder, salt, and pepper; consider adding cornstarch or flour for extra crunch and crispiness.
- Cook at 250°F for 15 minutes, then increase to 400°F for 15–20 minutes, flipping halfway through for even browning.
- Perform an actual halfway flip and lightly spray with oil after flipping to encourage a golden, crispy exterior.
- Verify doneness using the wiggle test, checking for clear juices, and confirm internal temperature reaches minimum 165°F with a thermometer.
Prep Your Wings for Maximum Air Fryer Crispiness
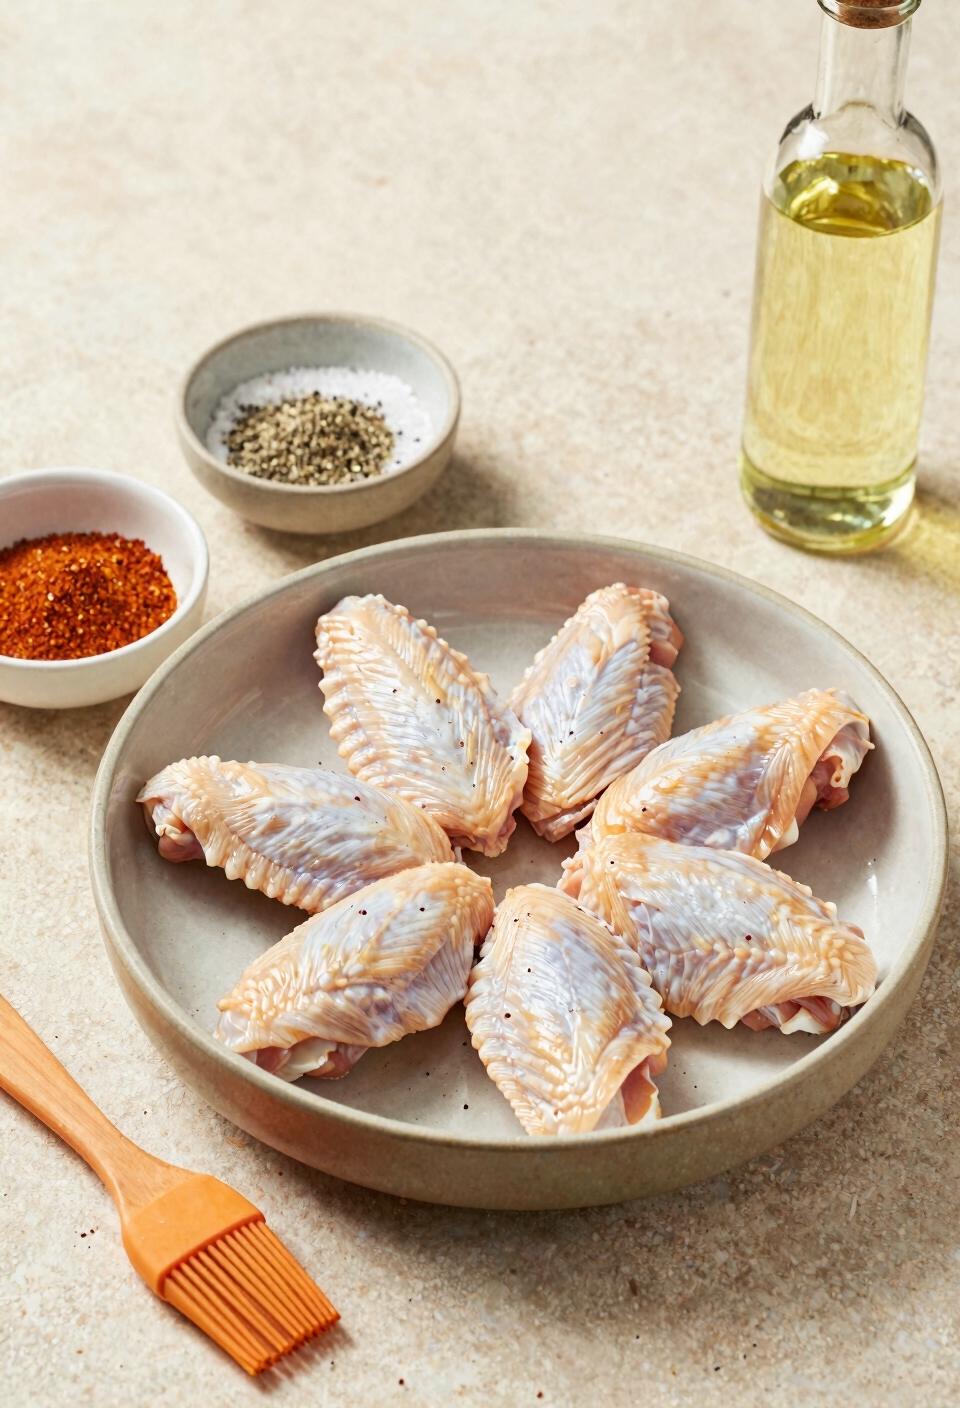
Patting your chicken wings dry is genuinely the move that separates crispy-on-the-outside perfection from disappointingly soggy disappointment. Moisture is basically the enemy of crispiness, so grab some paper towels and get thorough—don’t just give them a half-hearted dab.
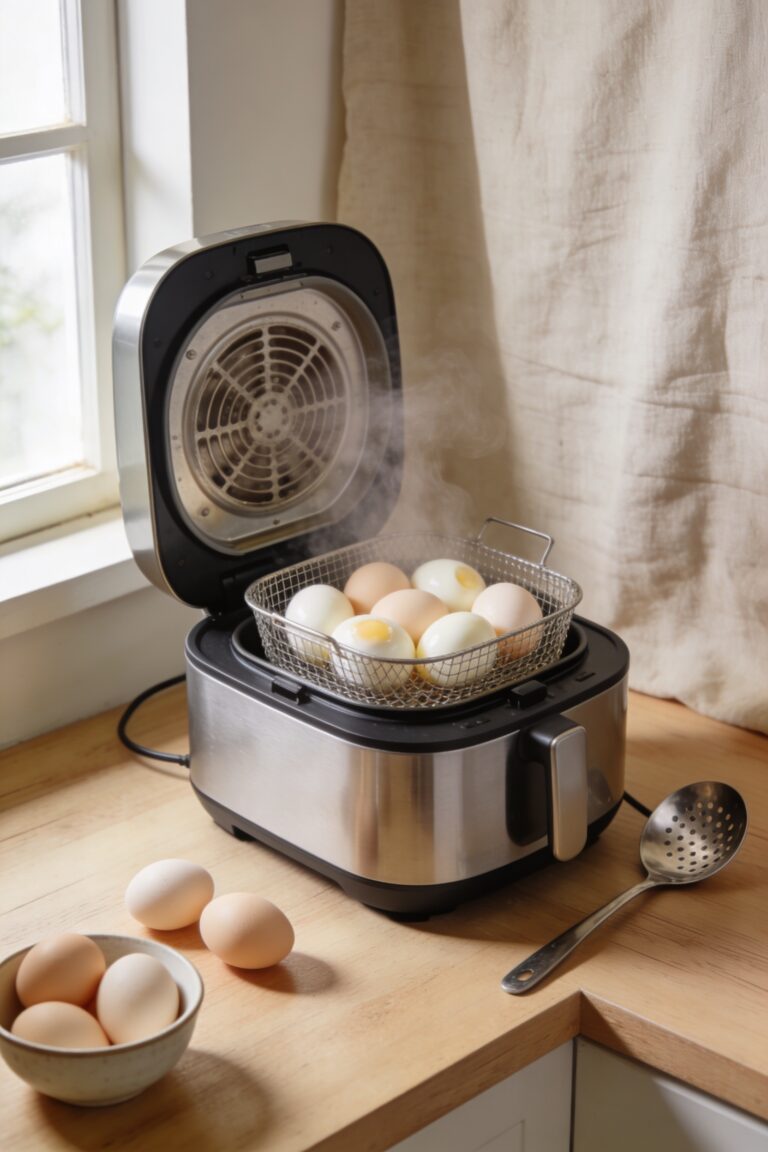
Now, here’s the thing: you’ll want to separate full wings into drums and flats if they’re still connected. This matters because smaller pieces cook more evenly. Before anything else, make sure they’re completely defrosted.
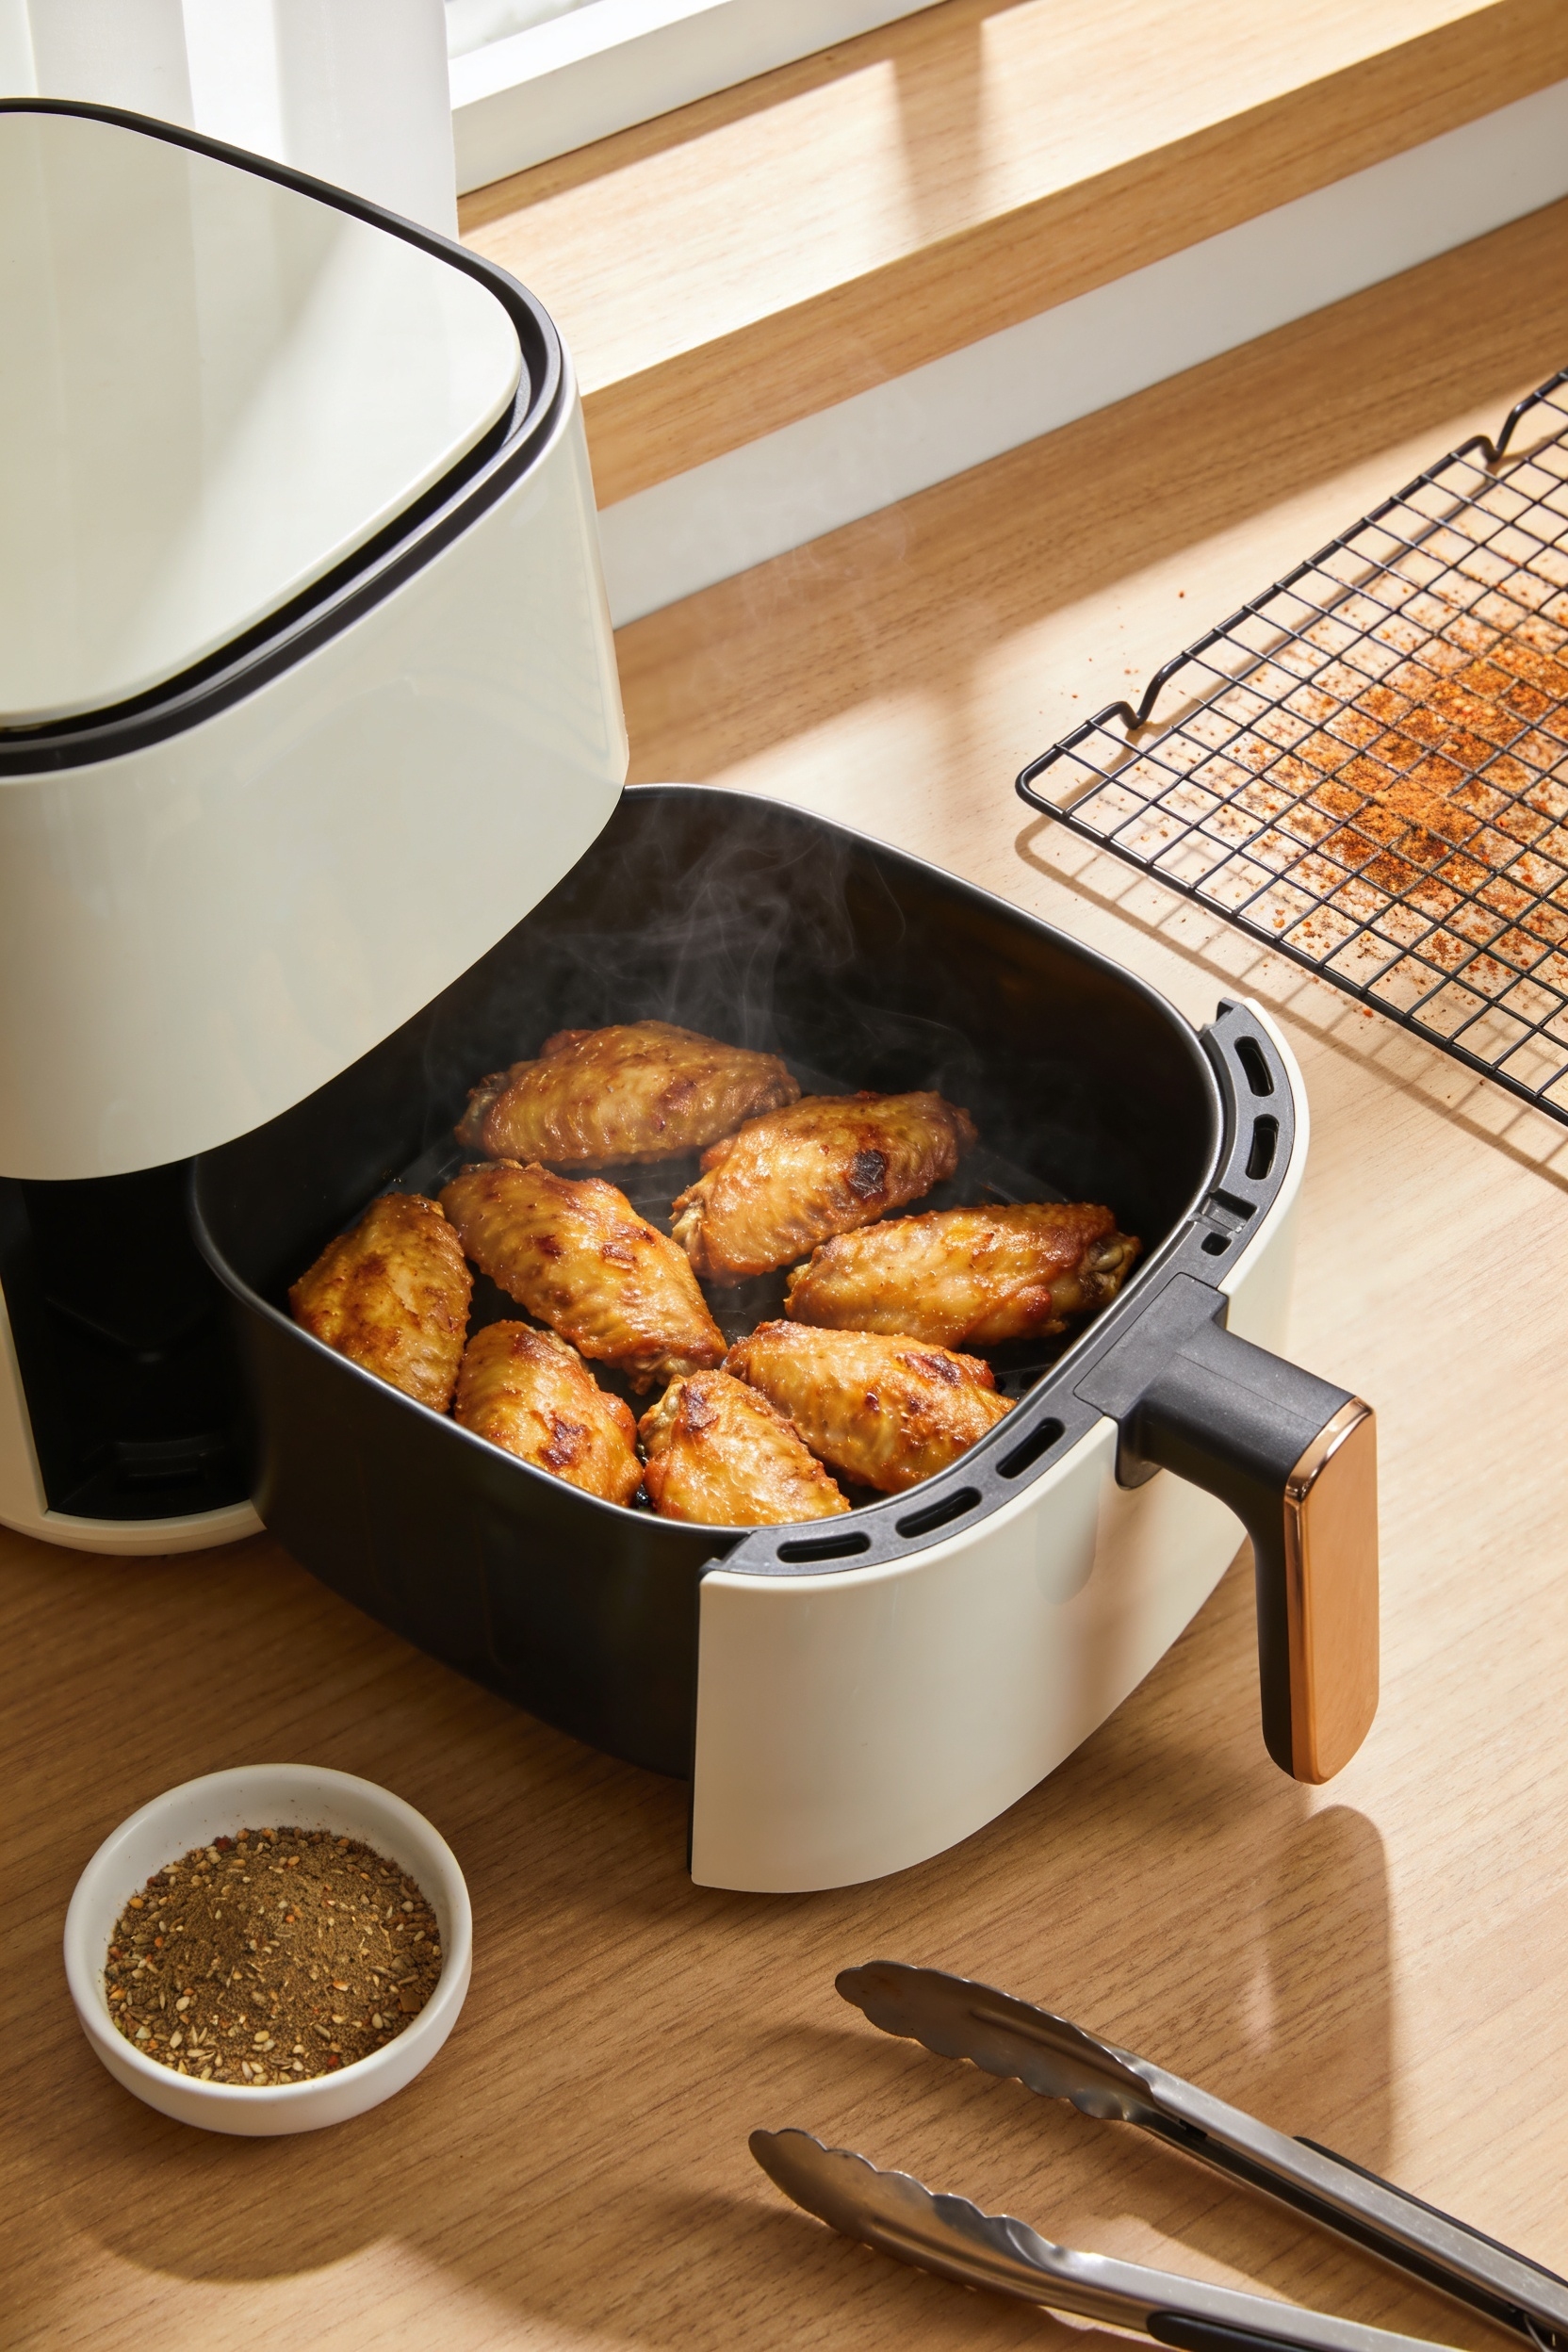
Next, toss everything with oil, baking powder, salt, and pepper until evenly coated. That baking powder? It’s your secret weapon for extra crunch. Consider light skin scoring too—tiny cuts help seasonings penetrate better. Think about airflow positioning when you’re ready to arrange them. Space matters.
Season and Coat for the Best Results
Since you’ve already got your wings prepped and ready to go, now comes the fun part—building flavors that’ll make people wonder what your secret is. I’m a big fan of the dry brine technique: toss your wings with baking powder, salt, and pepper. That baking powder isn’t just filler—it actually kickstarts browning and creates that restaurant-quality crispiness you’re after.
Now, here’s where compound butter changes everything. Mix softened butter with garlic powder, paprika, and fresh herbs, then brush it on after cooking. You can also go the coating route: combine cornstarch and flour for an airy, delicate crunch. Experiment with onion powder, sea salt, or arrowroot starch. The goal? Season generously enough that every bite tastes intentional.
Set Your Temperature and Cooking Time
Now here’s where precision matters—get the temperature wrong and you’ll either end up with soggy wings or charred disappointments. I’ve learned this the hard way, trust me.
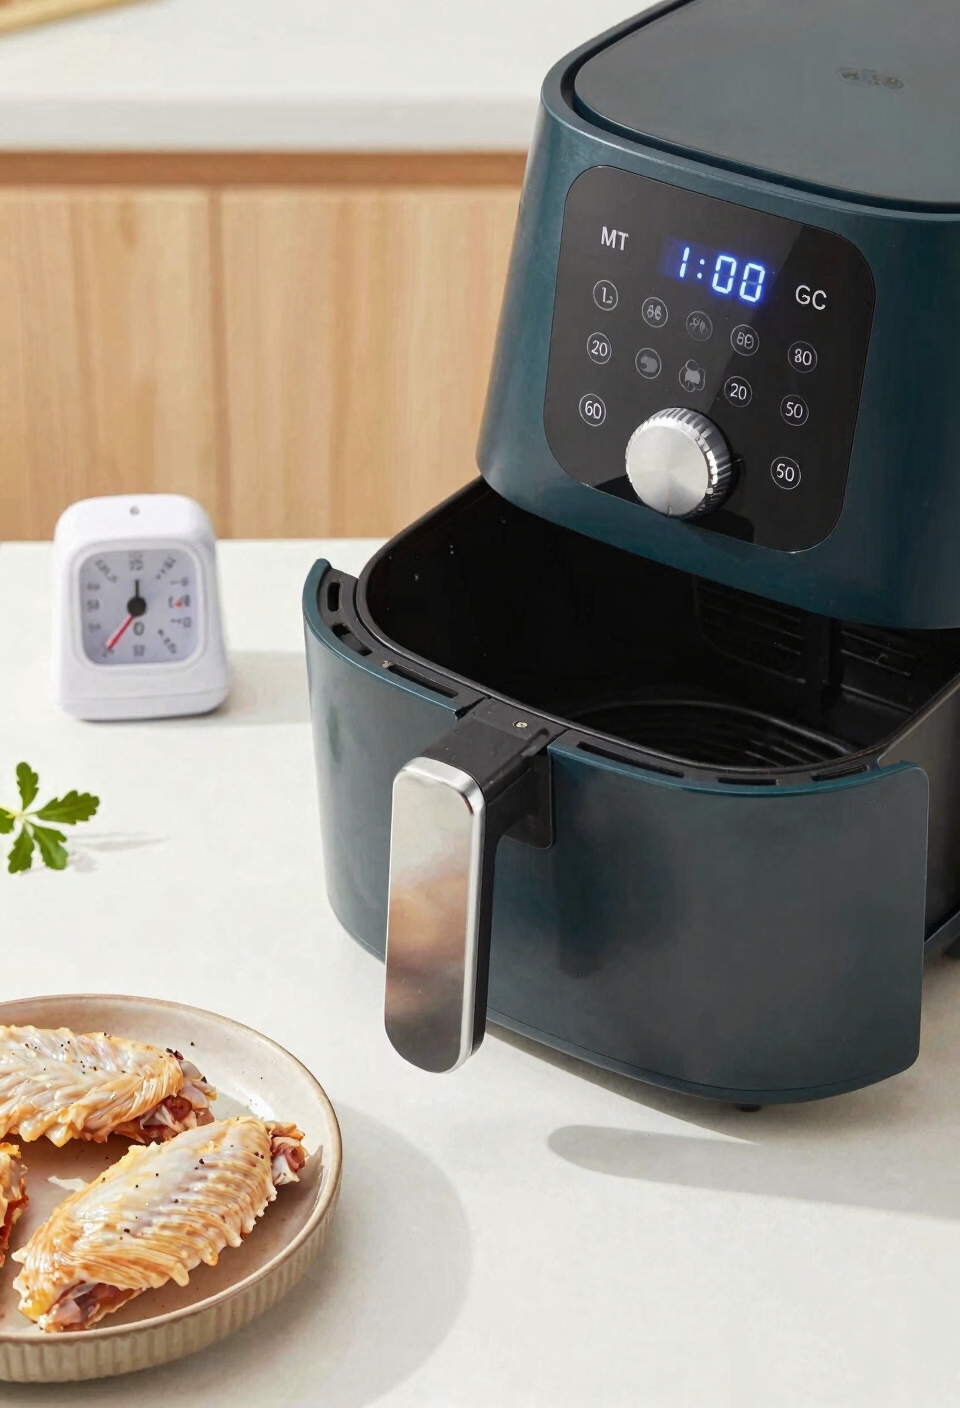
Here’s what works best: start with low heat at 250°F for 15 minutes. This gentle phase renders the fat without browning the skin too fast. Then crank it up to 400°F for another 15-20 minutes for that rapid sear that gives you that crackling exterior you’re after.
Alternatively, if you’re short on time, go straight to 380°F for 25-30 minutes total. Either method works—just don’t skip the flipping halfway through. That’s non-negotiable if you want even crispiness on all sides.
Flip and Cook for Even Browning

About halfway through your cook time, you’ll want to flip those wings—and I mean actually flip them, not just nudge them around a bit. This halfway flip is essential for even browning on both sides. I like to give them a light spray of oil after flipping, which really helps with that golden, crispy finish you’re after.
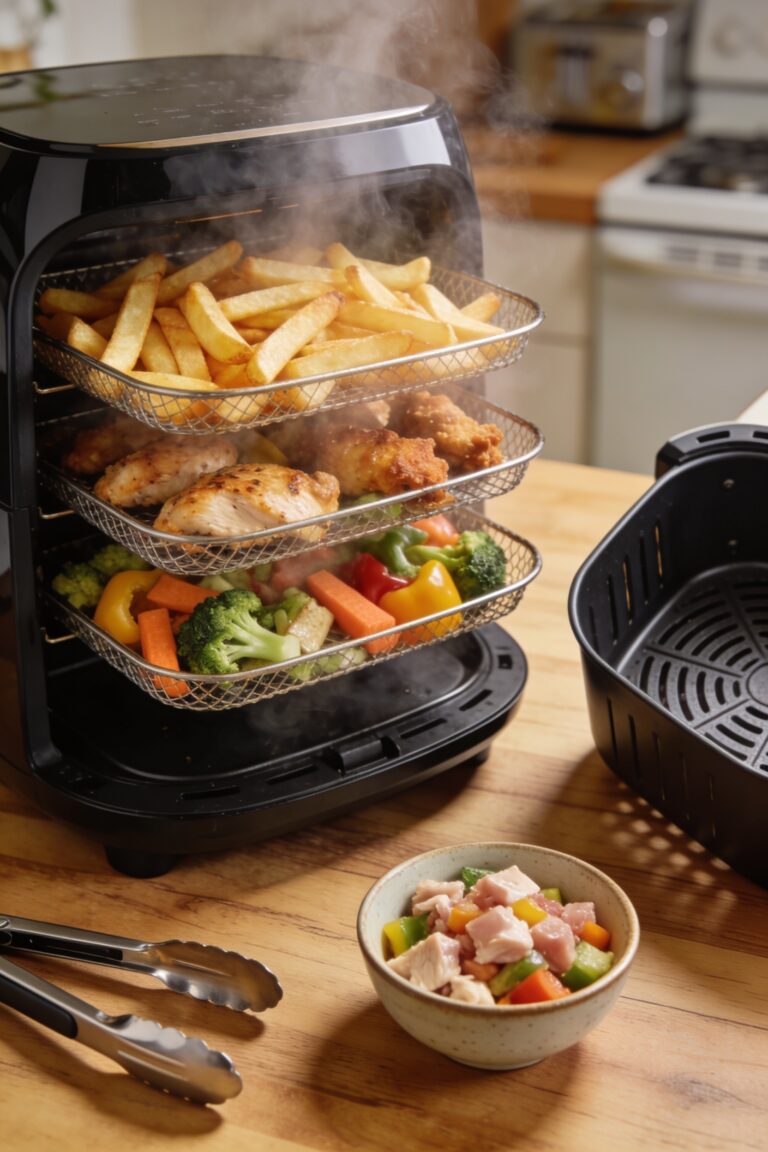
Now, here’s a pro tip: if you’re cooking multiple batches, rotate trays between the upper and lower racks. Air fryers can have hot spots, so this keeps everything cooking evenly. You’ll notice the wings on top might crisp faster than the ones below, so swapping them around guarantees nobody gets stuck with the pale ones. It’s a small move that makes a real difference in your final result.
Check for Doneness: Temperature and Visual Cues
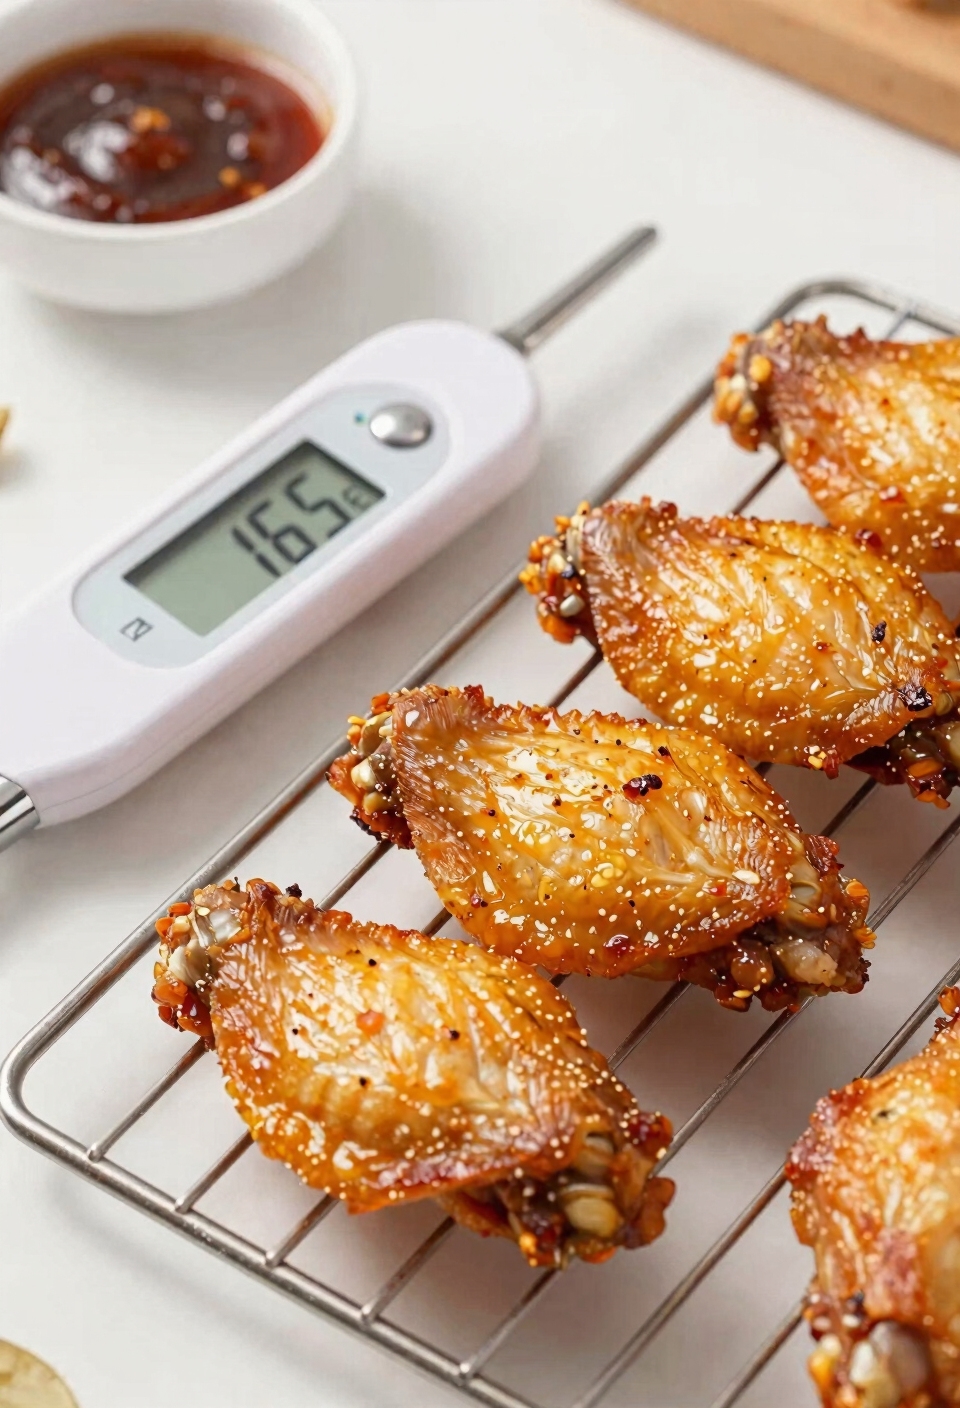
Once those wings hit that final stretch of cooking time, you’ll want to check them for doneness—and I’m not just talking about eyeballing them through the basket. I use the wiggle test: grab a wing with tongs and gently wiggle the drumette from the flat. It should move freely at the joint without resistance. That’s your sign the meat’s fully cooked through.
Now here’s the thing about internal juices. You want them running clear, not pink. Cut into the thickest part near the bone to verify. The meat should be white all the way through, no gray areas.
If you’re the cautious type, grab a meat thermometer. Aim for 165°F minimum internal temperature. That’s your golden ticket to safe, perfectly cooked wings.
Keep Leftovers Crispy: Storage and Reheating Tips
Storing your crispy wings properly is honestly half the battle—I’ve watched perfectly golden wings turn into rubbery disappointments because they ended up in the wrong container. Use airtight packaging like glass containers or ziplock bags, and here’s my trick: place cooling racks inside so wings don’t sit in condensation. Store them up to four days in your fridge.
Now, reheating matters just as much. Skip the microwave entirely—it’ll destroy that crispiness you worked for. Instead, use oven reheating at 350°F for about ten minutes. Some people swear by adding moisture absorbers like paper towels inside the container to prevent sogginess. Your leftover wings’ll taste nearly as good as day one.
Frequently Asked Questions
Can I Cook Frozen Chicken Wings Directly in the Air Fryer Without Defrosting?
I wouldn’t recommend cooking frozen wings directly without defrosting first. You’ll face uneven cooking and potential safety issues. I’d defrost them properly, then apply your frozen seasoning techniques for peak direct cooking safety and crispiness.
How Do I Prevent Chicken Wings From Sticking to the Air Fryer Basket?
I’ll prevent sticking by lightly oiling the basket before cooking, using a parchment liner if you prefer, preheating it properly, and arranging wings in a single layer without crowding for peak air circulation.
What’s the Best Sauce to Toss Wings With After Air Frying?
I’d recommend tossing your wings with Buffalo classic or Honey garlic sauce. Both complement the crispy exterior perfectly. I find Buffalo delivers that tangy kick, while Honey garlic offers a sweeter, more savory profile. Choose based on your preference.
Can I Cook Different Wing Sizes Together in One Batch?
I wouldn’t recommend it. Different sizes cook at different rates, creating texture differences—smaller wings’ll crisp while larger ones stay undercooked. I’d suggest separating them into batch strategies for consistent, evenly cooked results with proper timing adjustments.
Why Are My Air Fryer Wings Not Getting Crispy Despite Following Instructions?
I’d check if you’re over-crowding your basket or skipping the drying step. Excess moisture from cold brining or skin hydration prevents crisping. Make sure wings are completely dry, arranged in a single layer with proper spacing for air circulation.
Conclusion
Look, I’ve walked you through this whole thing, and here’s what matters: your air fryer can turn chicken wings into golden, crispy perfection like magic transforms a pumpkin into a carriage. You’ve got the tools now—the right temps, the flipping strategy, the storage hacks. Get in that kitchen and make some wings. Your taste buds will thank you, and honestly, so will your guests.