As an Amazon Associate, we earn from qualifying purchases. Some links on this site are affiliate links at no extra cost to you. Our recommendations are based on thorough research and editorial judgment.
How to Cook Bacon in an Air Fryer: Times & Tips
Air fryer bacon beats stovetop and oven methods because it’s crispy, mess-free, and hands-down the easiest way to cook it consistently. Brush your basket with oil, arrange bacon in a single layer, and cook regular-sliced bacon at 350°F for 7–9 minutes. Thick-cut bacon needs about 9–12 minutes at the same temperature. Flip halfway through, transfer to a paper towel-lined plate, and blot for extra crispness. There’s plenty more to master about getting it perfect every time.
Key Takeaways
- Cook regular-sliced bacon at 350°F for 7–9 minutes or 400°F for 8–10 minutes, flipping halfway through.
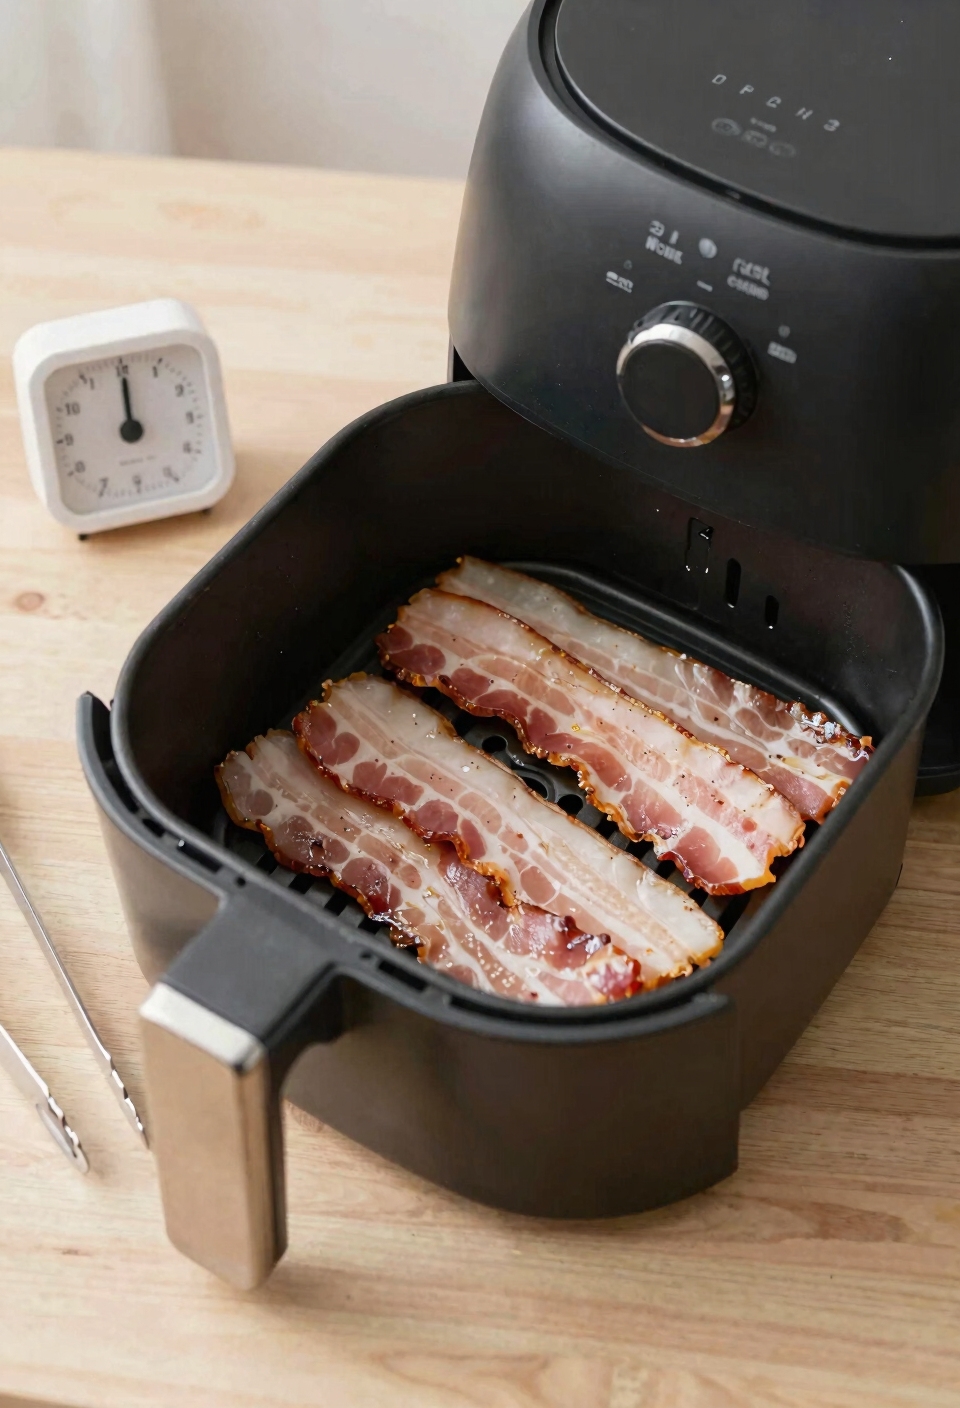
- Arrange bacon in a single layer without overlapping and brush the basket with oil to prevent sticking.
- Thick-cut bacon requires 9–12 minutes at 350°F to properly render fat and achieve desired crispness.
- Bacon is done when it reaches deep golden-brown color with slightly darker edges and firm texture.
- Transfer cooked bacon to paper towels and blot to remove excess grease for maximum crispness.
Why Air Fryers Beat Stovetop and Oven
Look, I’ve cooked bacon every which way, and I’m here to tell you that air fryers are genuinely different—not just another kitchen gadget collecting dust in your cabinet. You won’t deal with less splatter, you’ll deal with basically none. That’s huge. Your stovetop doesn’t offer that, and your oven? Forget about it. The grease splatters everywhere, coating your range and requiring serious cleanup afterward. Air fryers contain the mess entirely. The basket catches everything, so faster cleanup means you’re actually done when the bacon’s done. You transfer it to a plate, toss a paper towel on top, and you’re finished. No scrubbing grease off your stovetop for twenty minutes. That’s the real win here.
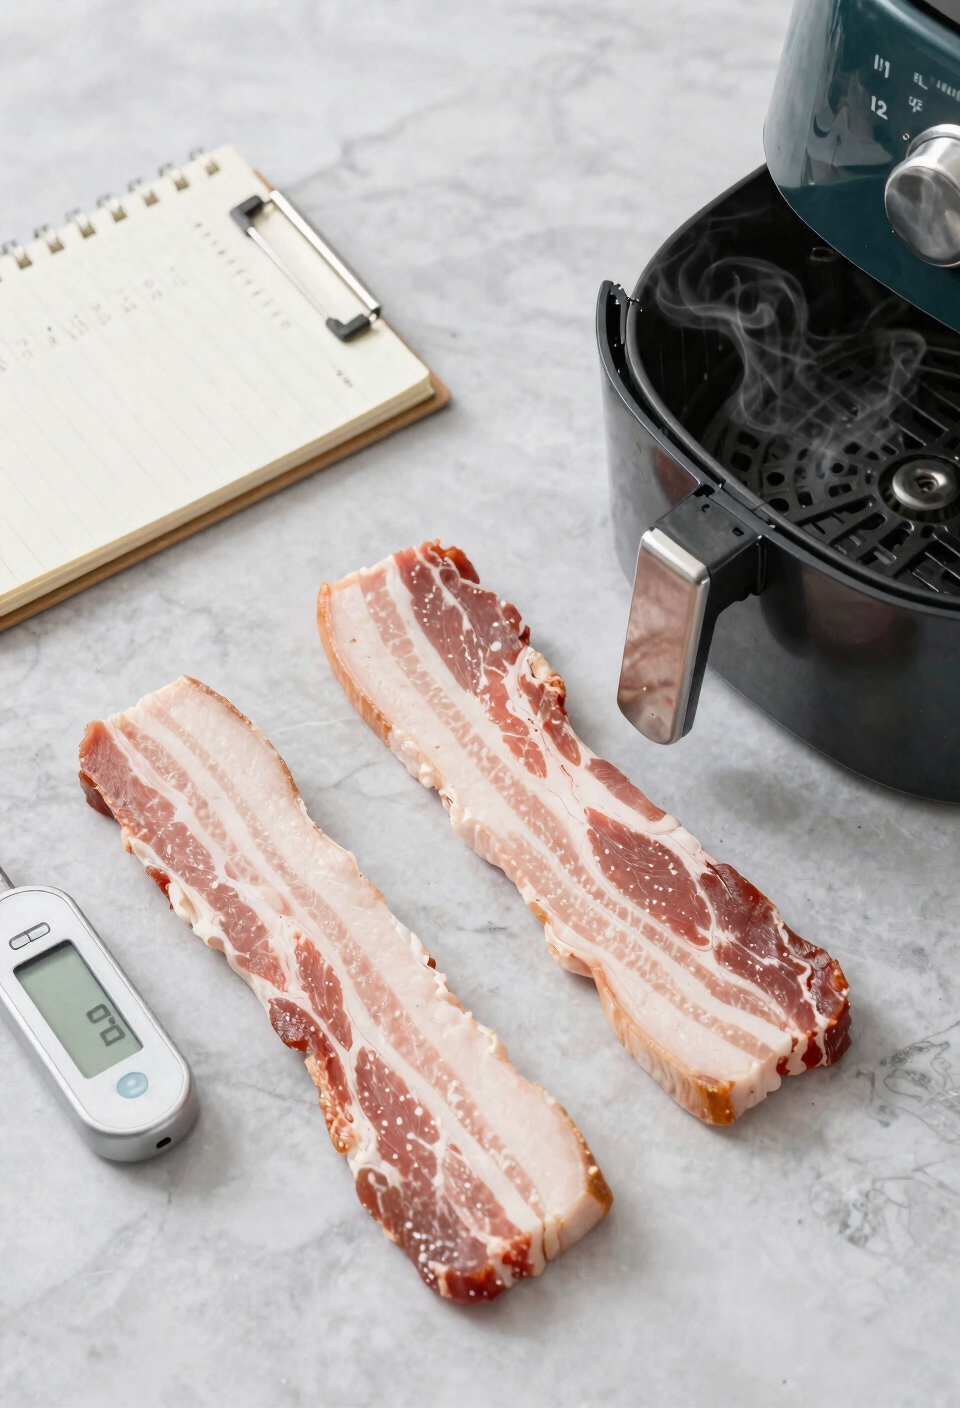
Prepare Your Air Fryer Basket for Success

Before you even think about laying down those bacon strips, you’ve got to set your basket up right—and I mean really set it up. First, brush or spray that basket bottom with oil to prevent your bacon from sticking like it’s glued there. Next, consider your rack placement—arrange those strips in a single layer without overlapping so air flows freely around each piece. If you’re worried about grease cleanup, line the outer basket with aluminum foil to catch drippings. No foil alternatives work quite as well, honestly. Cut strips in half if needed to fit more bacon without crowding. This setup takes maybe two minutes, but it’s the difference between pulling off crispy bacon and scraping a mess.
Temperature Settings for Regular and Thick-Cut Bacon
Getting the temperature right is where a lot of people stumble, but here’s the thing—it’s actually pretty straightforward once you know what you’re doing. I’ve found that 350°F is your sweet spot for most bacon. It renders the fat beautifully without aggressive smoke control issues, and you get consistent results every time.
Now, if you’re working with regular-sliced bacon, you can bump it to 400°F, though I find that pushes things faster than necessary. Thick-cut bacon? Stick with 350°F for 9-12 minutes. You’ll get better texture variation this way—crispy edges while the interior stays tender, not shattered to bits.
The real secret is that lower temperature gives you more control over how your bacon actually turns out.
Cooking Times for Regular-Sliced Bacon
Now that you’ve got your temperature dialed in, timing becomes your best friend—and honestly, it’s way more forgiving than you’d think. For regular-sliced bacon, I’m looking at 7-9 minutes at 350°F, though some folks prefer cranking it to 400°F for 8-10 minutes instead. The magic? Flipping halfway through guarantees even cooking and those gorgeous bacon textures you’re after.
Here’s the thing: air fryer comparisons matter because every model runs slightly different. I always check doneness around the 6-8 minute mark to dodge overcooking disasters. Start at 8 minutes, peek inside, then add another minute or two if you want it crispier. You’ll nail your perfect crispness level once you’ve done it once. That’s the beauty of air frying bacon—it’s genuinely hard to mess up.
Cooking Times for Thick-Cut Bacon

Thick-cut bacon is a whole different beast, and I’m not going to sugarcoat it—it needs more time in the air fryer than its thinner cousin. I’m talking 9-12 minutes at 350°F, or 10-12 minutes if you crank it to 400°F. The extra time lets that fat render properly without burning the edges.
Flip halfway through for even cooking. If you’re working with smoked variations or experimenting with brining techniques, add another minute or two—those extra layers mean slightly longer cook times. Check at the 8-minute mark to catch any early browning.
The payoff? Bacon that’s actually crispy all the way through, not just at the edges. Trust me, it’s worth the wait.
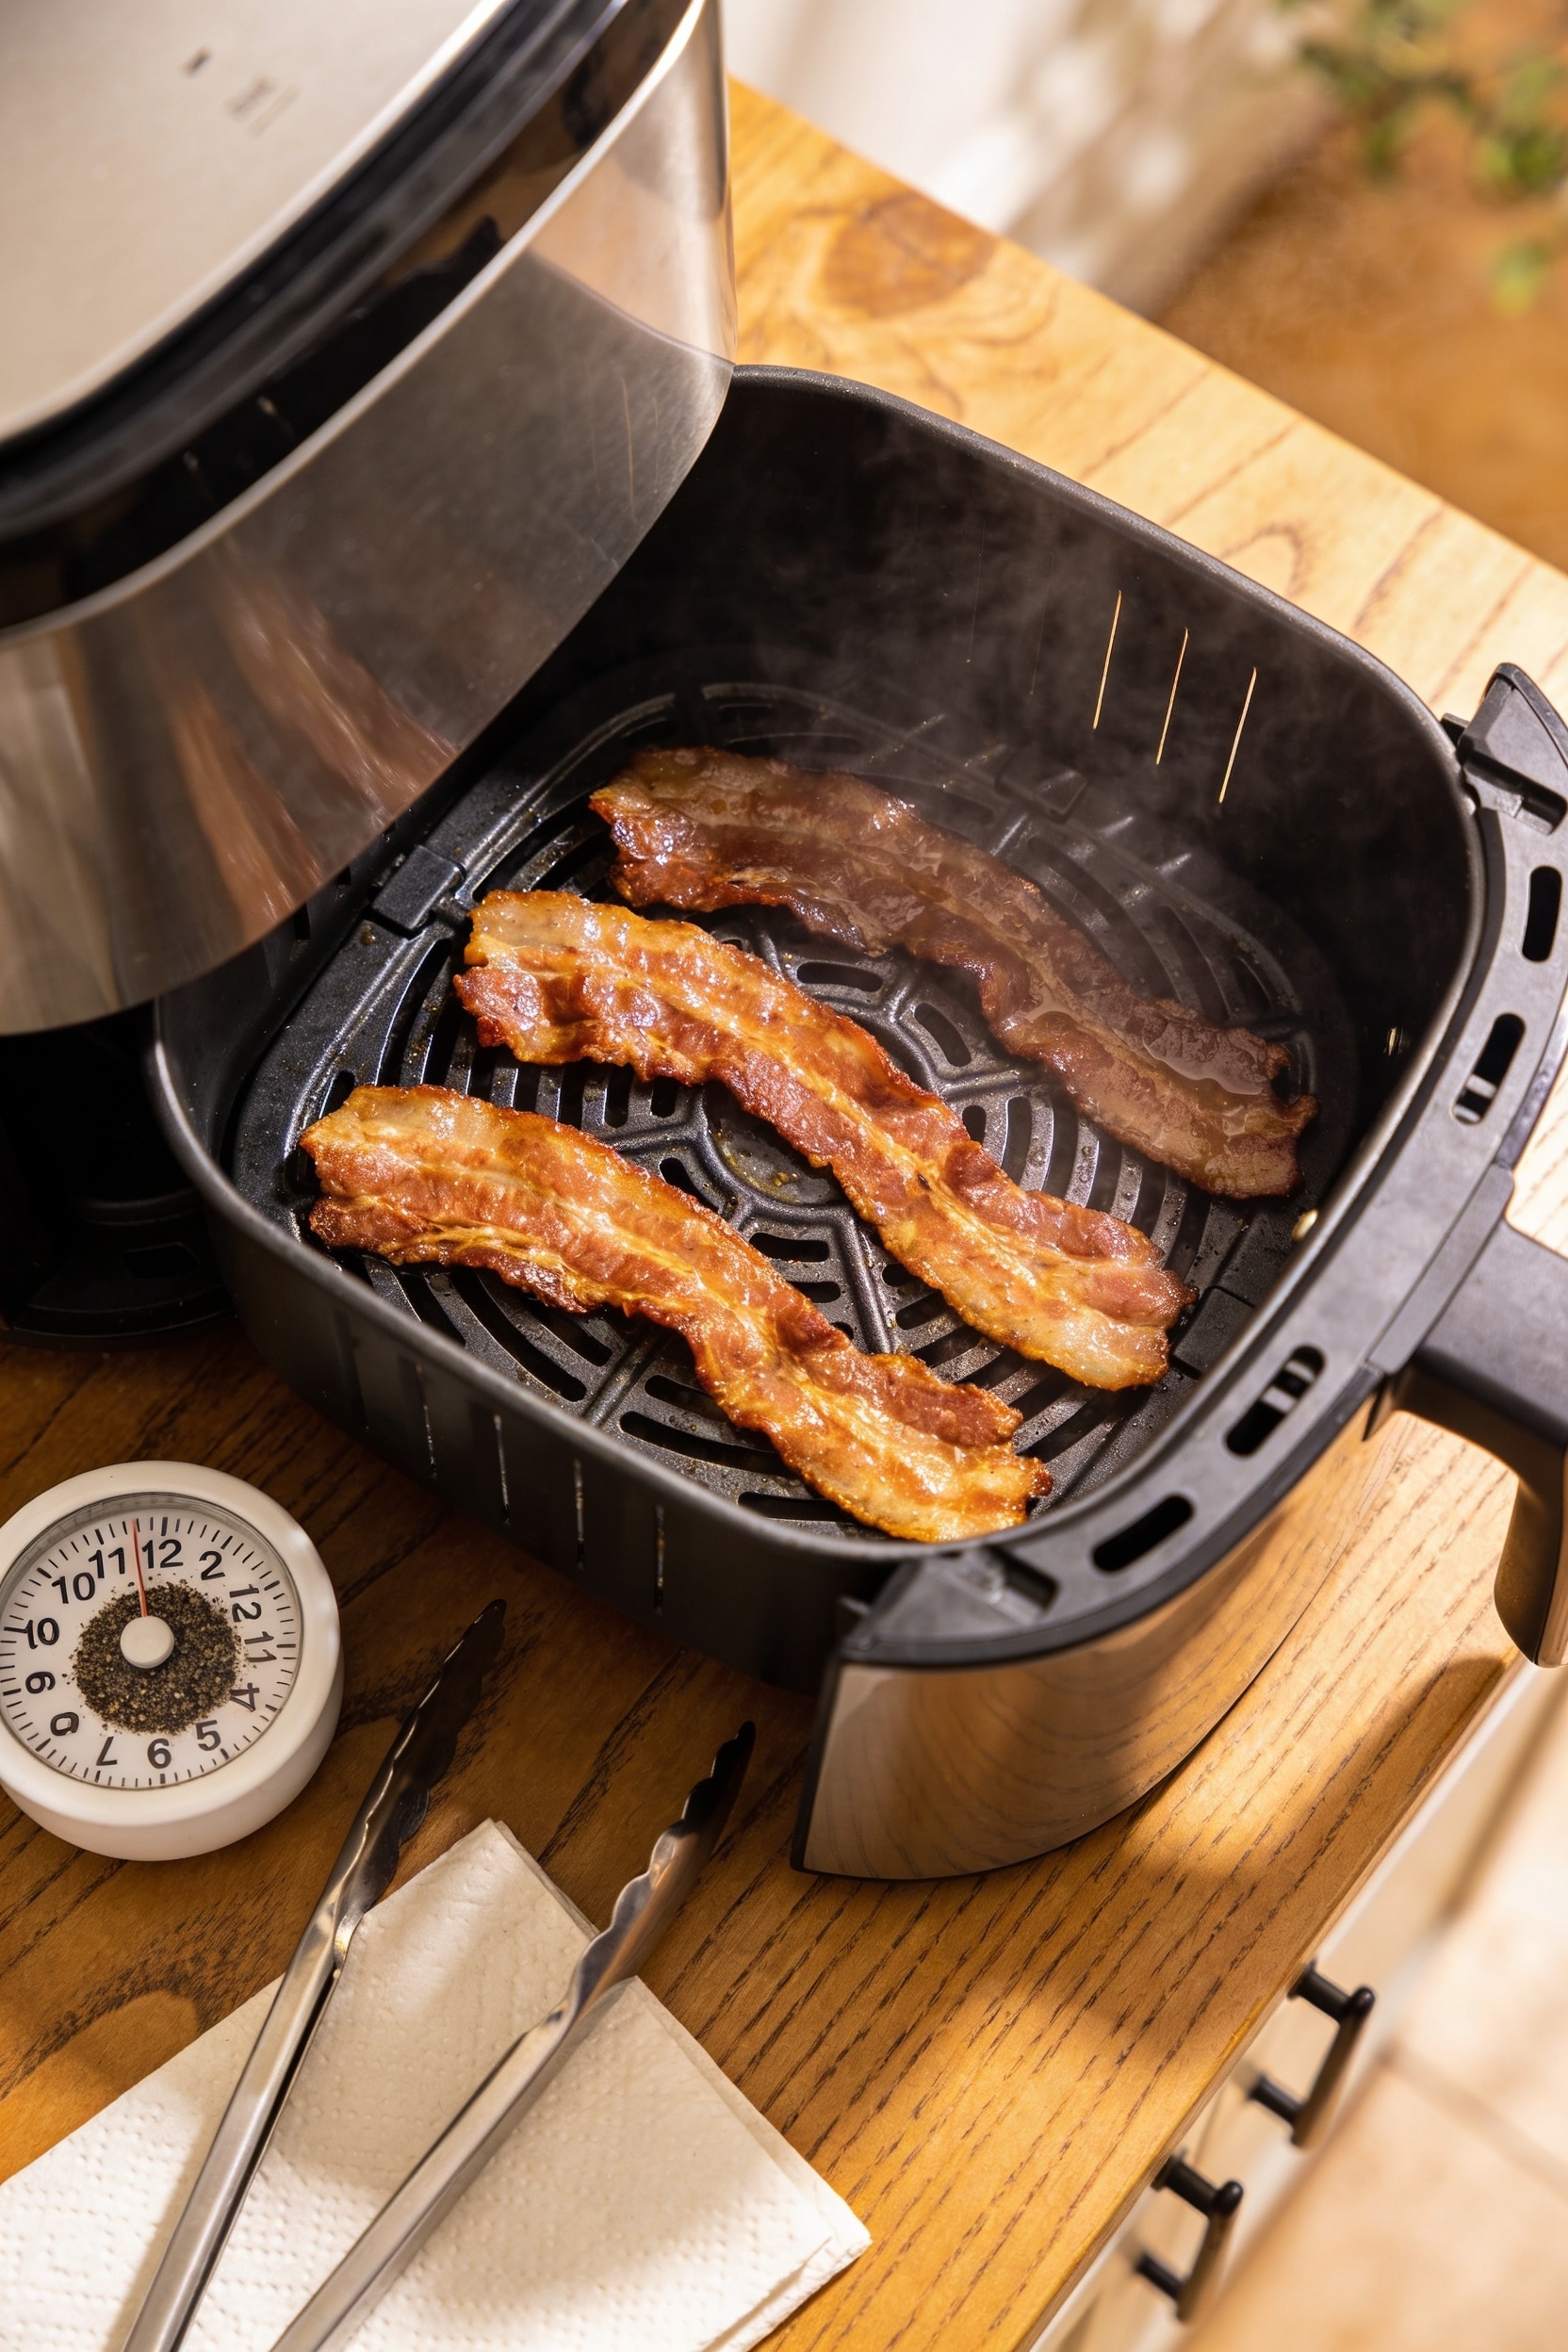
Know When Your Air Fryer Bacon Is Done
Since you’ve got your bacon cooking away, you’ll want to know what done actually looks like—and it’s easier to spot than you might think. Visual cues matter most here. Look for that deep golden-brown color on both sides, with the edges darkening slightly more than the center. The bacon should look crispy and firm rather than limp or pale.
Now, if you’re the cautious type, check the internal temp at around eight minutes—you’re aiming for bacon that’s cooked through without being burnt. The meat should feel stiff when you poke it, not floppy. Here’s the thing: every air fryer runs a bit different, so trust what you see and feel before the timer stops. That’s your best indicator that it’s actually done.
Flip and Monitor for Even Crispness
Halfway through your cook time, you’ll want to flip those bacon strips so they crisp up evenly on both sides. I’ve learned that this flip technique really matters—one side tends to cook faster than the other, and you don’t want one side burnt while the other’s still chewy.
Now, pay attention to visual cues as your bacon cooks. You’re looking for that golden-brown color developing, not dark brown or black. Check in around the 6 to 8-minute mark before flipping, especially with thicker cuts. The edges should start curling up slightly, which tells you the rendering’s happening nicely.
Here’s the thing: every air fryer cooks a bit differently, so monitoring beats guessing. Take a quick peek, flip when you see browning starting, then let it finish. You’ll nail it.
Drain, Blot, and Store Your Bacon
Once your bacon hits that golden-brown sweet spot, the real work’s almost done—you just need to get it off the heat and handle the grease situation. I transfer mine straight to a paper towel-lined plate, which catches all that rendered fat. Then I’ll blot the top with another paper towel for extra crispness because why not go all in?
Now, here’s where most people waste perfectly good bacon grease. Save it. Seriously. Pour the cooled drippings into an airtight jar and store it in your pantry—it’ll last up to six months and makes everything taste better. You’ve got liquid gold on your hands, friend.
Fix Common Air Fryer Bacon Problems
Even though air fryer bacon seems foolproof, things can go sideways fast—your strips come out either rubbery and pale or burnt to a crisp, grease pools in the bottom, or you’re dealing with smoke that sets off every alarm in your kitchen. Here’s the thing: most problems stem from temperature confusion or poor grease management. Lower your heat to 350°F if you’re getting burnt edges, and line that basket with foil for smoke mitigation. If bacon’s rubbery, you’re probably undercooking it—bump up to 400°F and add a few minutes. For grease pooling, don’t skip the oil brush step on the basket bottom. These tweaks transform your results dramatically.
Frequently Asked Questions
Can I Cook Bacon and Other Foods Simultaneously in My Air Fryer?
I’d recommend against it. Bacon requires specific temperature and timing that won’t match most foods. You’ll struggle with basket spacing and temperature layering, risking unevenly cooked meals and grease transfer issues.
How Do I Prevent Bacon From Curling up During Air Frying?
I’ve found that you can use weights or binder clips to hold bacon flat, arrange slices with parchment guides between them, or clamp slices together. These methods keep bacon from curling while it crisps evenly.
Is It Safe to Reuse the Rendered Bacon Grease Multiple Times?
Yes, I can safely reuse rendered bacon grease multiple times if I store it properly in an airtight jar. For food safety and peak flavor retention, I should use it within six months and strain out any food particles beforehand.
Can I Cook Frozen Bacon Directly Without Thawing First?
Yes, I’ll cook your frozen bacon directly. Ice crystals’ll melt during cooking, but expect texture changes and add 2-3 minutes to normal cooking time. You’re effectively thawing while crisping simultaneously.
What’s the Maximum Amount of Bacon I Can Cook per Batch?
I’d recommend fitting as much bacon as you can arrange in a single layer without overlapping—this guarantees proper air flow. Cut strips in half if needed. Your basket’s size determines batch size, and smart rack placement maximizes capacity.
Conclusion
Look, mastering air fryer bacon is like finding the perfect shortcut—it saves you time, mess, and stress while delivering better results. You’ll never go back to stovetop splatters or oven babysitting. Your air fryer’s become your new bacon best friend. Crispy, even, hands-off perfection is just a few minutes away. You’ve got this.