As an Amazon Associate, we earn from qualifying purchases. Some links on this site are affiliate links at no extra cost to you. Our recommendations are based on thorough research and editorial judgment.

How to Reheat Pizza in an Air Fryer (Crispy Every Time)

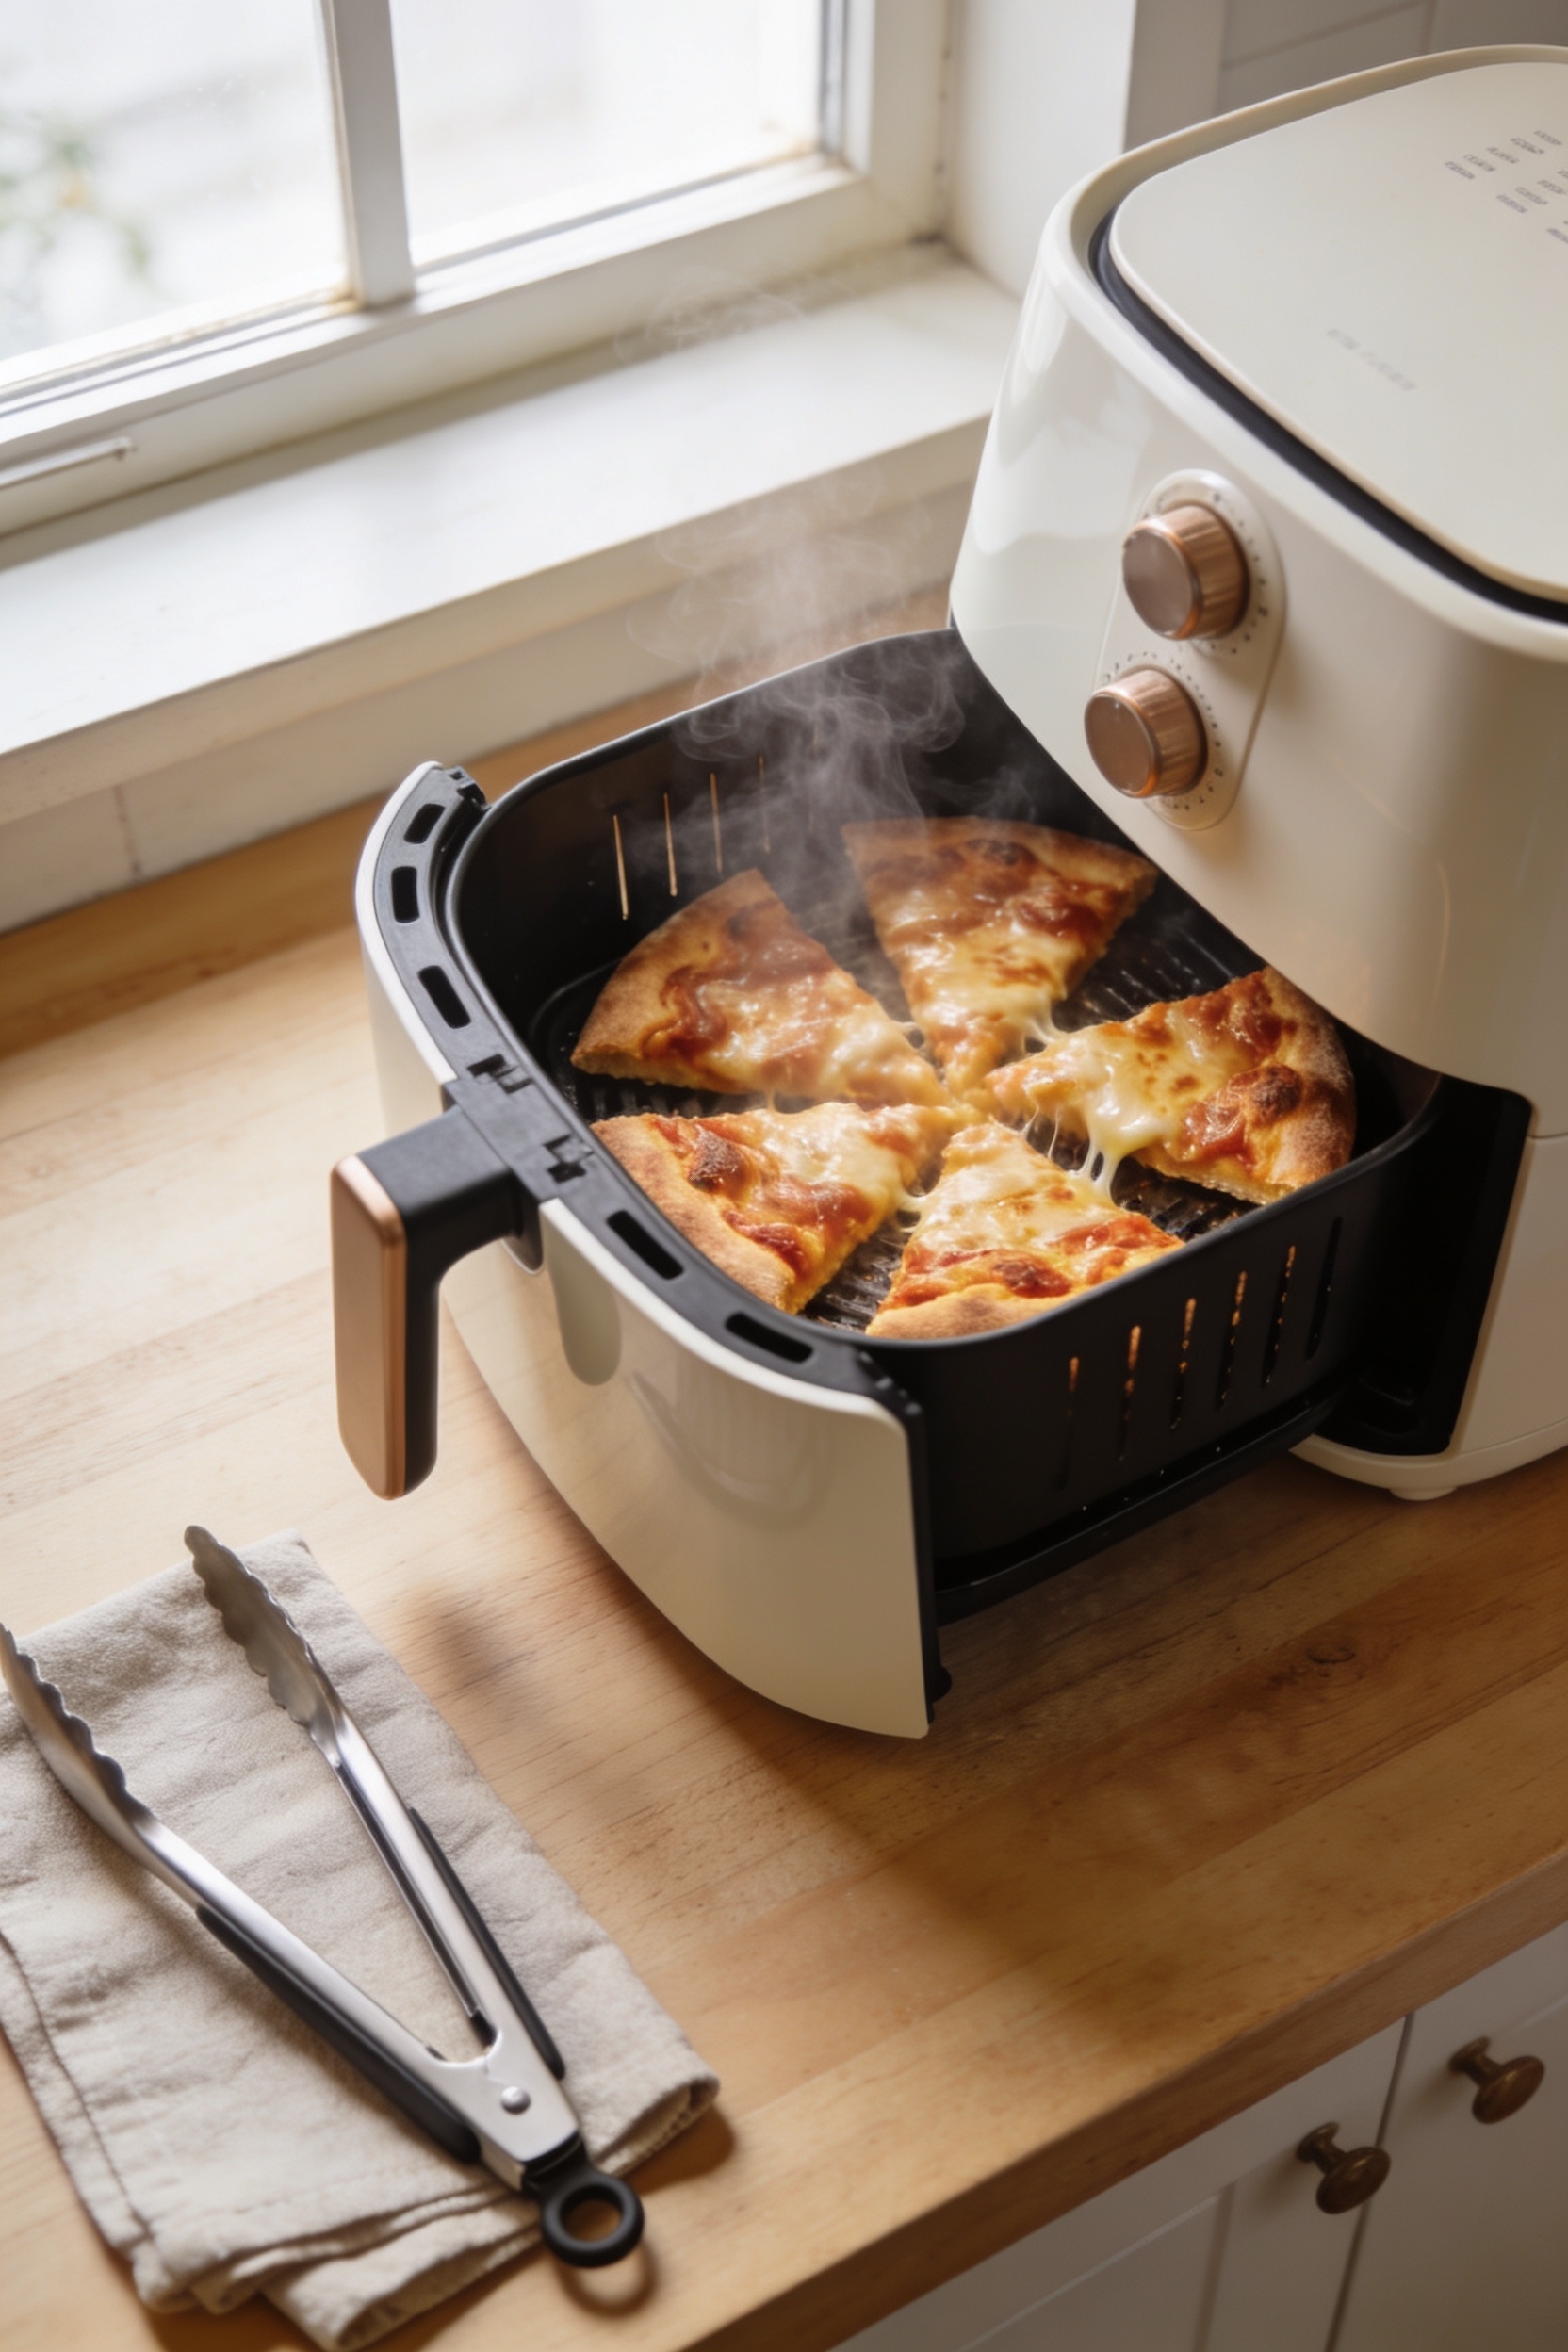
skip the microwave entirely. Set your air fryer to 350°F, preheat for three minutes, then arrange your pizza slices in a single layer—no overlapping. Cook for 3–4 minutes and check at the three-minute mark; the cheese should go from rubbery to melty. Crack the basket slightly to let steam escape so you don’t end up with a soggy disappointment. Use the bare basket, skip any liners, and you’ll get that crispy crust every single time. There’s plenty more technique where that came from.
Key Takeaways
- Preheat your air fryer to 350°F for 3–4 minutes, then cook pizza slices for 3–4 minutes until cheese turns melty.
- Skip parchment or foil liners and place slices directly on the basket for maximum airflow and crispiest results.
- Crack the basket drawer slightly during cooking to release steam and prevent condensation from making the crust soggy.
- Check pizza around the 3-minute mark for doneness; add one extra minute if the cheese needs more time to melt.
- Adjust temperature by crust type: thin crust at 325–400°F, thick crust at 375°F, and deep dish at 220°F.
Standard Method: 350°F, 3–4 Minutes
If you want reliably great reheated pizza without overthinking it, you’ve found your sweet spot at 350°F for 3 to 4 minutes. Here’s the thing: this temperature mimics what a traditional oven does, but faster. You’ll preheat your air fryer for just 3 to 4 minutes, then slide in your slices in a single layer—no overlapping, obviously. Check at the 3-minute mark. That’s when the magic happens: your cheese texture transforms from rubbery to melty, and the crust regains its snap. If it needs another minute, give it one. Remove everything with tongs or a spatula. You’re not reinventing the wheel here. You’re just using the right tool at the right temperature. That’s genuinely all it takes.
Temperature Settings by Crust Type
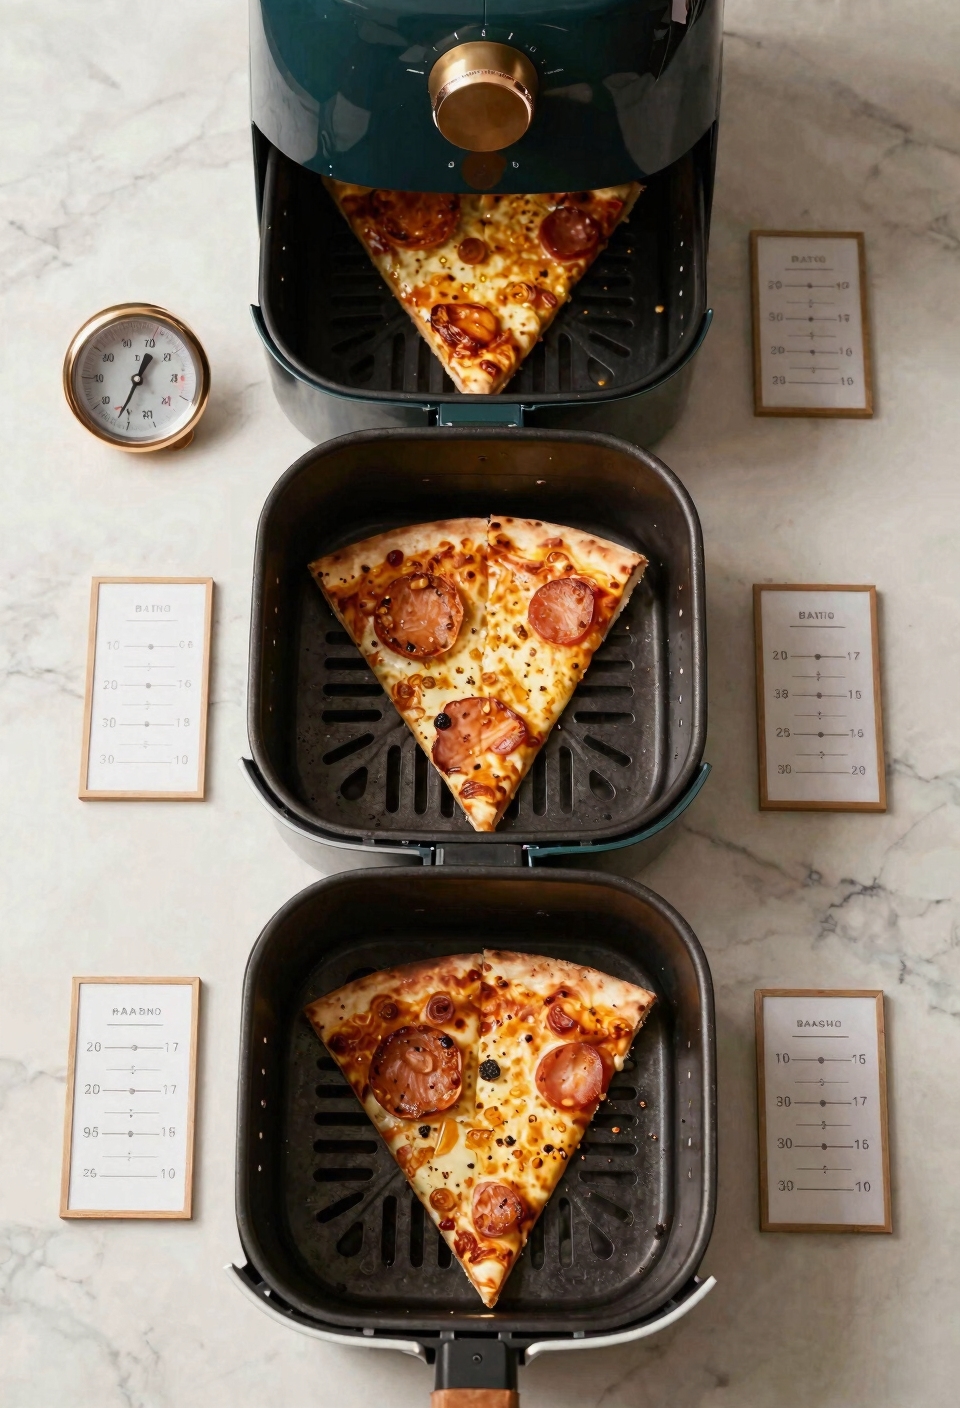
Now, here’s where things get interesting: not all pizza crusts are created equal, and your air fryer knows it. Crust thickness dramatically changes how heat needs to work. For thin crust pizza, I bump the temperature up to 325°F or even 400°F for just two minutes—that higher heat mimics what a traditional oven does to crisp things fast. Thick crust pizza? I dial it back to 375°F and give it an extra minute or two. Deep dish gets the gentlest treatment: 220°F for five to six minutes, since those hefty crusts need time for heat to penetrate without burning the edges. The oven equivalents work because air fryers circulate heat aggressively. You’re effectively getting convection oven results in a compact machine.
Check at 3 Minutes: Here’s Why
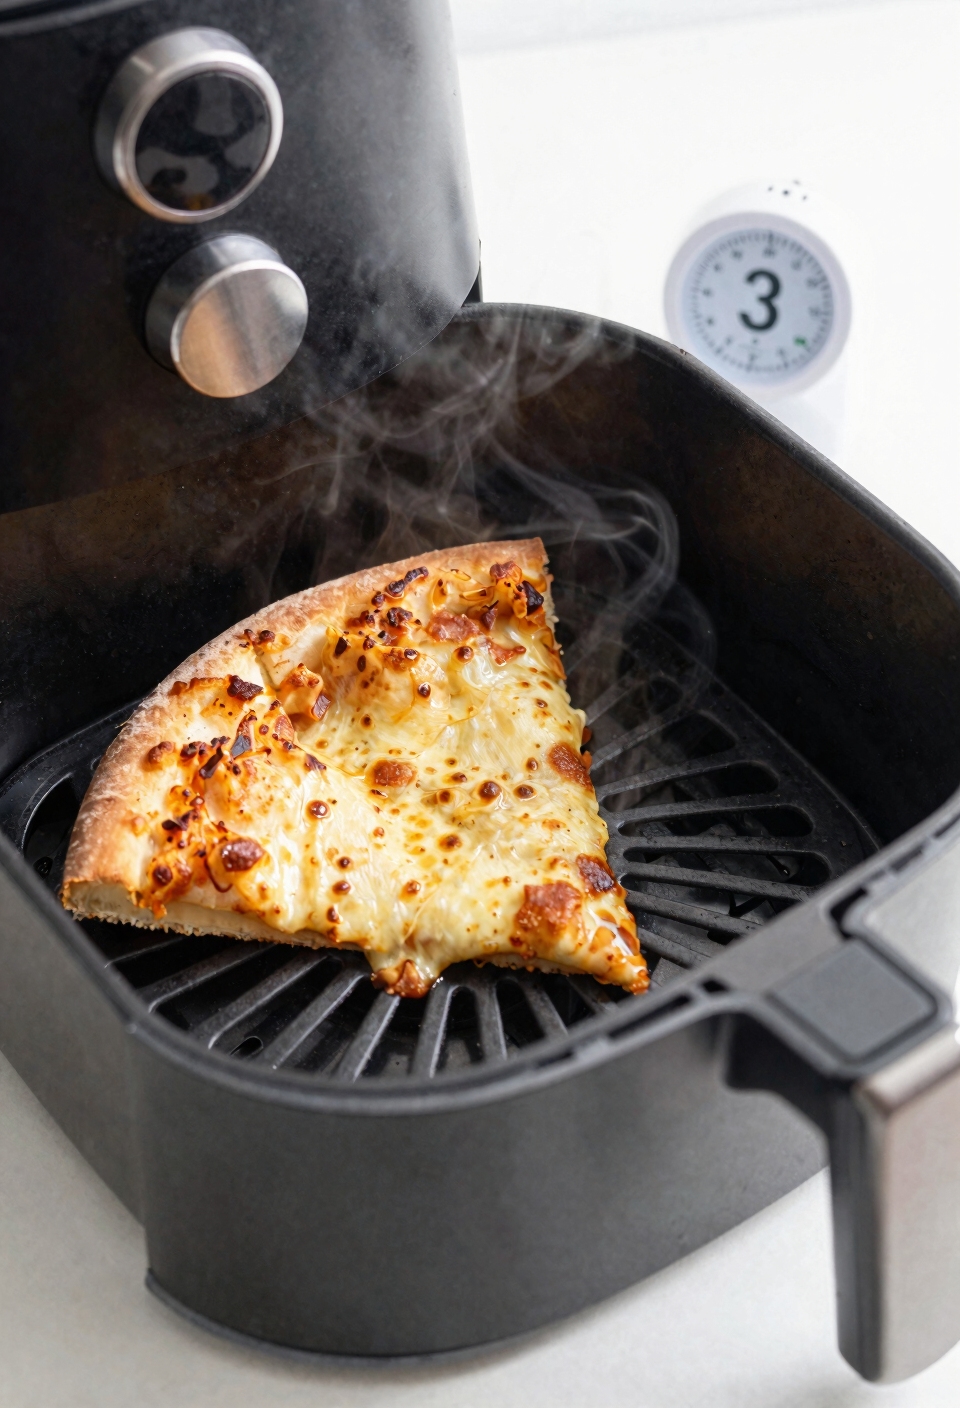
I always check my pizza at the three-minute mark, and you should too—it’s genuinely the difference between crispy perfection and a charred disappointment. Here’s the thing: every air fryer behaves slightly differently. What takes three minutes in one basket might need four in another. By hitting that texture checkpoint early, you’re gathering real data about your specific machine instead of guessing blindly. You’ll see how the cheese melts, whether the crust’s browning evenly, and if the toppings need rescuing. Skip the oven timers if you want—just stay present. That quick peek gives you control, prevents burnt edges, and honestly? It takes five seconds. Your pizza’ll thank you for the attention.
Liners vs. Bare Basket: Crispiness Impact
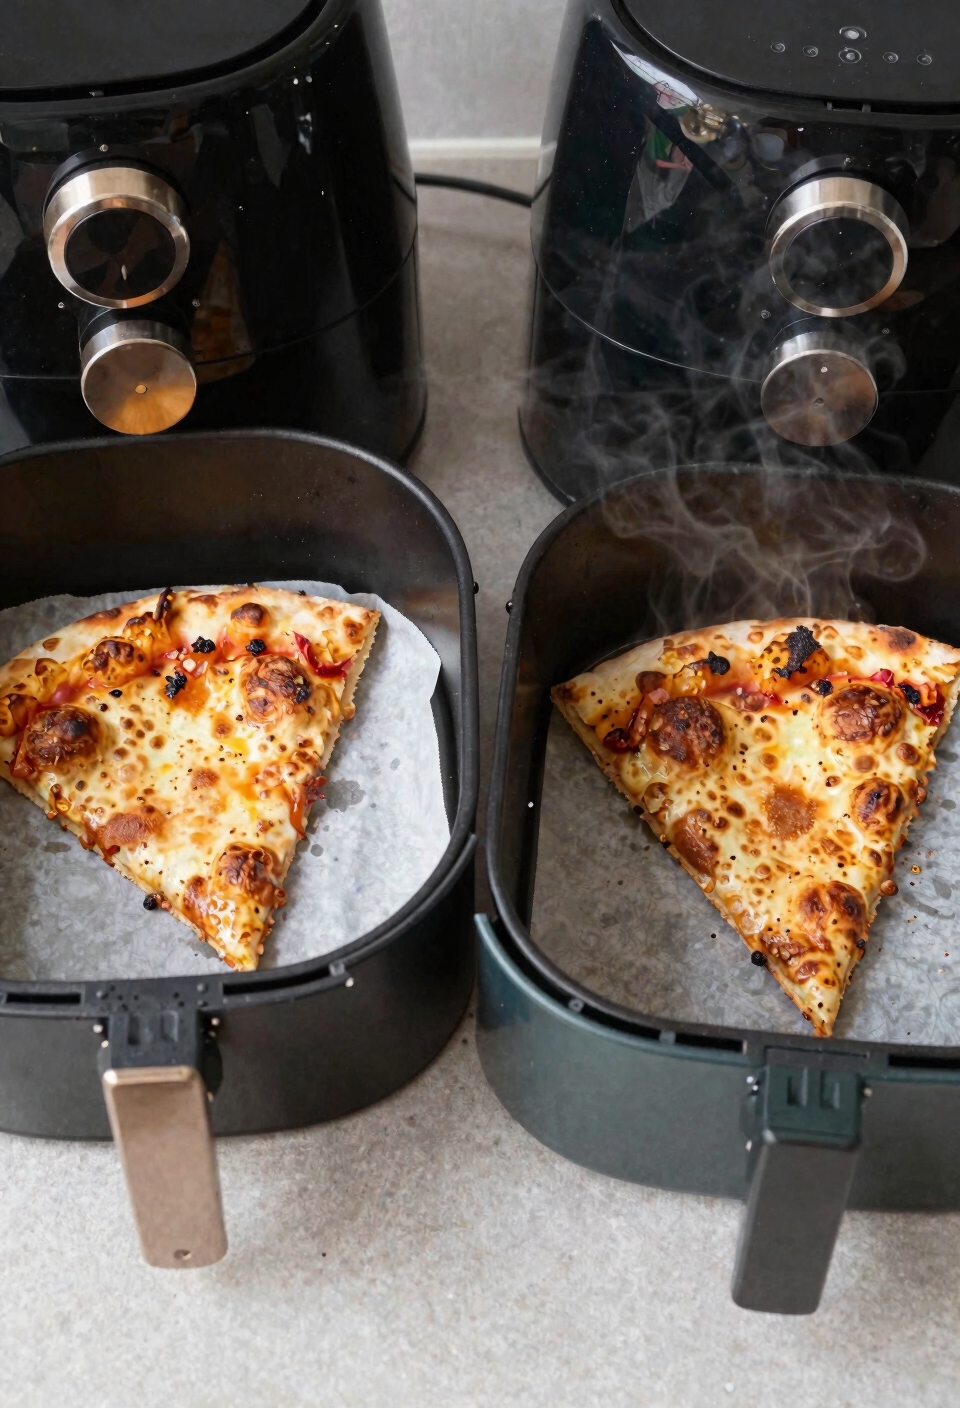
Once you’ve got your timing dialed in, the next decision’s going to make or break your crispiness game: what you put—or don’t put—between your pizza and the basket.
Here’s the thing about liner choice: parchment, foil, and silicone all make cleanup easier, but they’re creating a barrier between your crust and those hot air currents. That’s your texture tradeoff right there. Skip the liner, and you’re maximizing airflow dynamics. The basket impact is real—direct contact with the basket means maximum crispiness, period.
Now, I get it. Cleanup matters. But if crispiness’s your priority, go bare. Just guarantee enough space for air circulation around each slice. You’re after that golden, crispy exterior, and sometimes that means accepting a slightly messier basket afterward.
Why Your Pizza Gets Soggy (and How to Fix It)
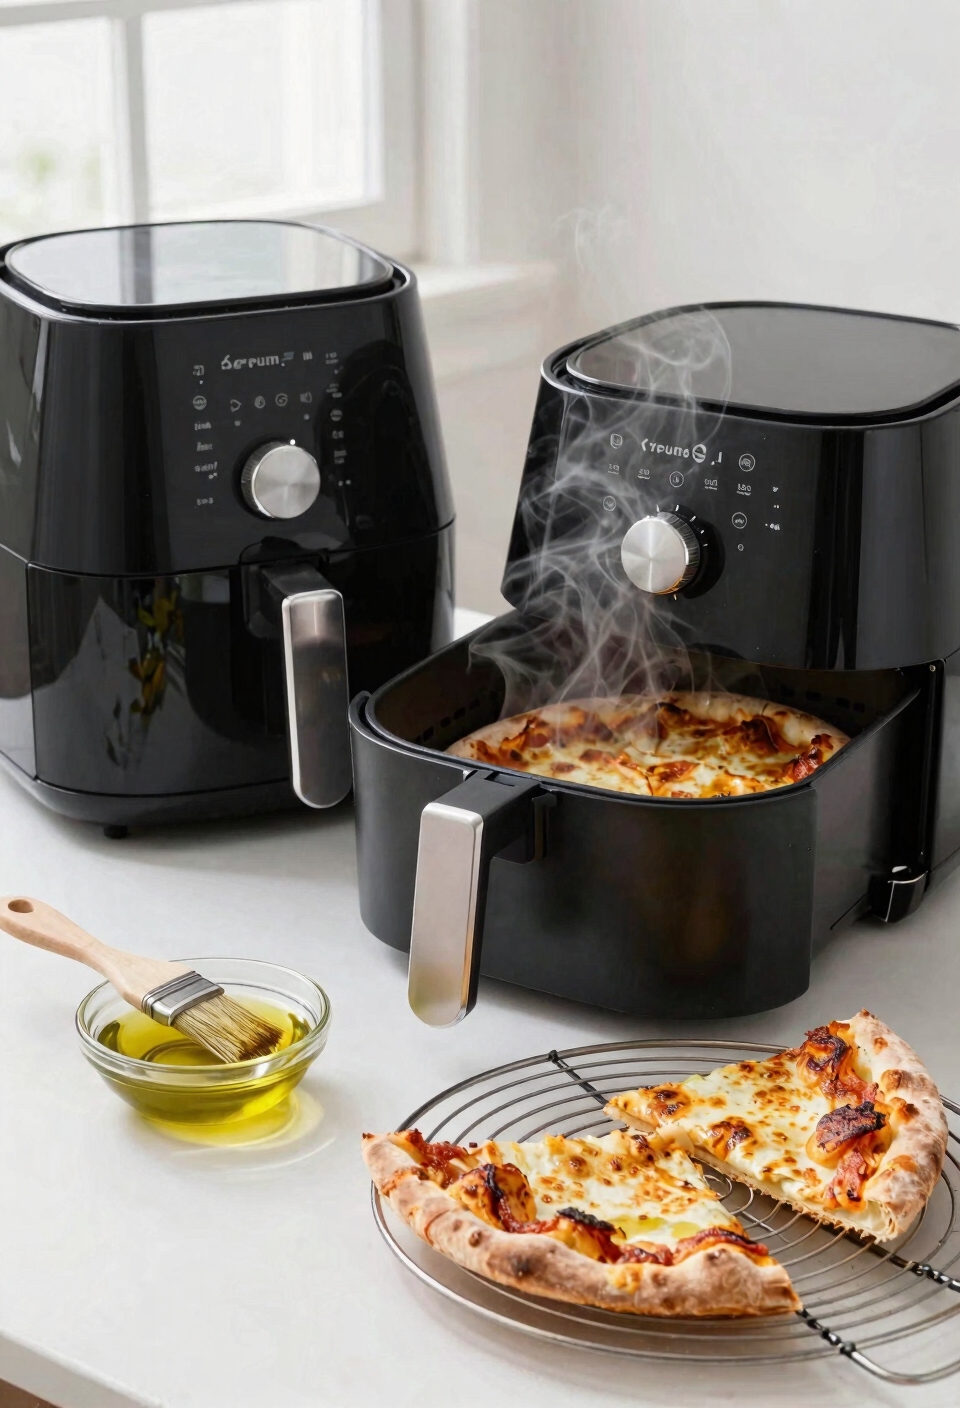
Despite nailing your timing and ditching the liner, your pizza can still end up disappointingly soggy—and it’s usually not your fault. The culprit? Steam buildup trapping moisture inside your air fryer basket. When you reheat pizza, condensation forms on the lid and drips right back onto your slices. Meanwhile, the sauce absorption problem creeps in from below, especially with leftover pizza that’s already been sitting around.
Here’s the fix: crack your air fryer basket slightly during cooking to let steam escape. If your model allows it, prop the basket drawer open just a hair. You can also try misting your pizza with water instead of letting it sit with toppings drying out. This keeps everything balanced and prevents that depressing, limp texture you’re trying to avoid.
Frozen Pizza From Freezer: 8–12 Minutes
Now, frozen pizza is a whole different beast than reheating last night’s leftovers. You don’t need thaw timing—just grab it straight from frozen storage. Different packaging types require different approaches, so check what you’re working with first. Preheat your air fryer to 375°F for three minutes, then slide that pizza in without overlapping slices. Cook for eight to twelve minutes, checking around the eight-minute mark for cheese melt and crust crispiness. The beauty of this reheating etiquette is that frozen pizzas actually turn out crispier than you’d expect. Thicker slices need extra time, while thinner ones might finish early. Start checking frequently once you hit the halfway point—that’s when things get interesting. You’ll nail it after your first attempt.
5 Air Fryer Crispiness Hacks
Getting that perfect crispy crust comes down to a few tricks that’ll transform your pizza from “meh” to “wow.” I’ve learned these the hard way—mostly through trial and error, with emphasis on the error part—but they genuinely work.
First, maximize airflow manipulation by skipping the parchment liner. Direct basket contact lets air circulate underneath, creating that coveted crispiness you’re after. Check at three minutes because every air fryer behaves differently—some run hot, others don’t.
Here’s the thing: if your pizza browns too quickly, lower the temperature by 25 degrees. You’re not rushing; you’re perfecting. Try crust scoring before cooking—light cuts help steam escape evenly. Finally, tap the crust with your fork. Sounds hollow? You’ve nailed it.
Misting Toppings: Restoring Moisture Without Sogginess
One of the sneakiest problems with reheating pizza is watching those toppings dry out faster than the crust crisps up. Here’s the thing: a light water spray before cooking works wonders for steam control. I’ll give my toppings a quick mist from a spray bottle, which creates just enough humidity to keep pepperoni tender and cheese from turning into hockey pucks. The key is restraint—you’re not baptizing your pizza, just giving it a gentle spritz. This moisture transforms into steam during cooking, reviving dried-out toppings without making your crust soggy. Check at the halfway point and adjust based on how your pizza looks. You’ll nail that perfect balance between crispy crust and moist, flavorful toppings every time.
Stacking Multiple Slices Without Texture Loss
While misting keeps those toppings from turning into jerky, here’s where most people trip up: they try to cram too many slices into the basket at once, stacking them like some kind of pizza jenga tower. Don’t do that.
I learned this the hard way. You’ve got to work in batches, keeping everything in a single layer. Think of your air fryer like the oven alternatives you’ve probably tried—it needs airflow to do its job. Stacking creates dead zones where steam gets trapped instead of circulating.
Now, if you’re impatient (and let’s be honest, who isn’t?), here’s the real layering technique: cook what fits comfortably first, then immediately reheat the next batch. You’ll finish faster overall with better texture. Trust me on this one.
Frequently Asked Questions
Can I Reheat Pizza in an Air Fryer if It Has Cold Toppings Like Sour Cream?
Yes, you can reheat it, but I’d recommend removing cold toppings like sour cream first. They won’t reheat well, and dairy safety’s compromised with repeated heating. This prevents texture contrast issues and lets you control moisture better for crispiness.
What’s the Best Way to Reheat Stuffed Crust Pizza Without Burning the Edges?
I’d suggest starting at 325°F for stuffed crust pizzas. For edge protection, I’d loosely tent foil around the perimeter while the center crisps for 4-5 minutes, preventing burning.
How Do I Reheat Pizza With Delicate Toppings Like Fresh Basil or Arugula?
I’d reheat your pizza at 325°F for 2-3 minutes, keeping fresh herbs and delicate greens off initially. I add them after cooking to preserve their texture and flavor perfectly.
Can I Reheat Multiple Pizza Types Simultaneously at Different Temperatures?
I’d recommend against it—like trying to develop film in a microwave, reheating different pizza types simultaneously at different temperatures won’t work. You’ll need separate batches using appropriate stacking methods for each temperature requirement.
Is It Safe to Reheat Pizza Directly From the Refrigerator Without Thawing?
Yes, I’d recommend reheating refrigerated pizza directly—it’s safe for food safety and actually helps with texture preservation. Just add 1-2 minutes to your standard cooking time at 350°F.
Conclusion
You’ve now got all the tools to nail crispy pizza every single time. No more soggy disappointments or burnt edges—just perfectly reheated slices that taste like you ordered them fresh. Your air fryer‘s about to become your secret weapon, and honestly, you’ll never microwave pizza again. Now go forth and make those leftovers sing.